Hand sewing a pirate Shirt

Here I am slowly and carefully crafting a pirate shirt from linen

I am hand-sewing a pirate shirt, which I have learned I should refer to as an "18th century men's shirt", by following the very thorough and wonderful tutorial and blog posts by Vincent Briggs.

Vincent has really inspired me to sew. He is such a very gentle person, dedicated to creating the things he loves with care and skill, and it brings me joy to read his blog and watch his videos.

Measurements

Two yards of fabric are enough to make one shirt. Every piece is a rectangle, which makes them very easy to cut!

Item Quantity Measurements (LxW, cm)
Main body 1 180 x 74
Sleeves 2 59 x 57
Shoulder seams 2 22 x 3.5
Arm hole seams 2 44 x 3.5
Collar 1 43 x 16
Cuffs 2 20 x 6
Arm gussets 2 14 x 14
Neck gussets 2 10 x 10
Side-seam gussets 2 6 x 6
Front gusset 1 4.5 x 4.5

† If you don't have enough fabric for the full length, you can cut this in two sections

‡ This can be square, 59 or 60 cm or larger, but the width left after cutting out the main body in this case was not enough to reach 59cm in width.

  • I pre-washed the fabric to shrink it since I will machine wash the finished shirt.
  • The sleeves can be laid out next to the main body piece. I cut from the largest to the smallest piece.
  • I cut each rectangle using the 'thread-pulling' method, where I pulled a thread and used that as a guide to cut along to ensure that all corners are square.

Progress

It took a very long time to cut out all the pieces. I think I watched an entire season of Only Murders in the Building while slowly cutting it out. That being said, this was my first time thread-pulling; I think I did get faster as I went along.
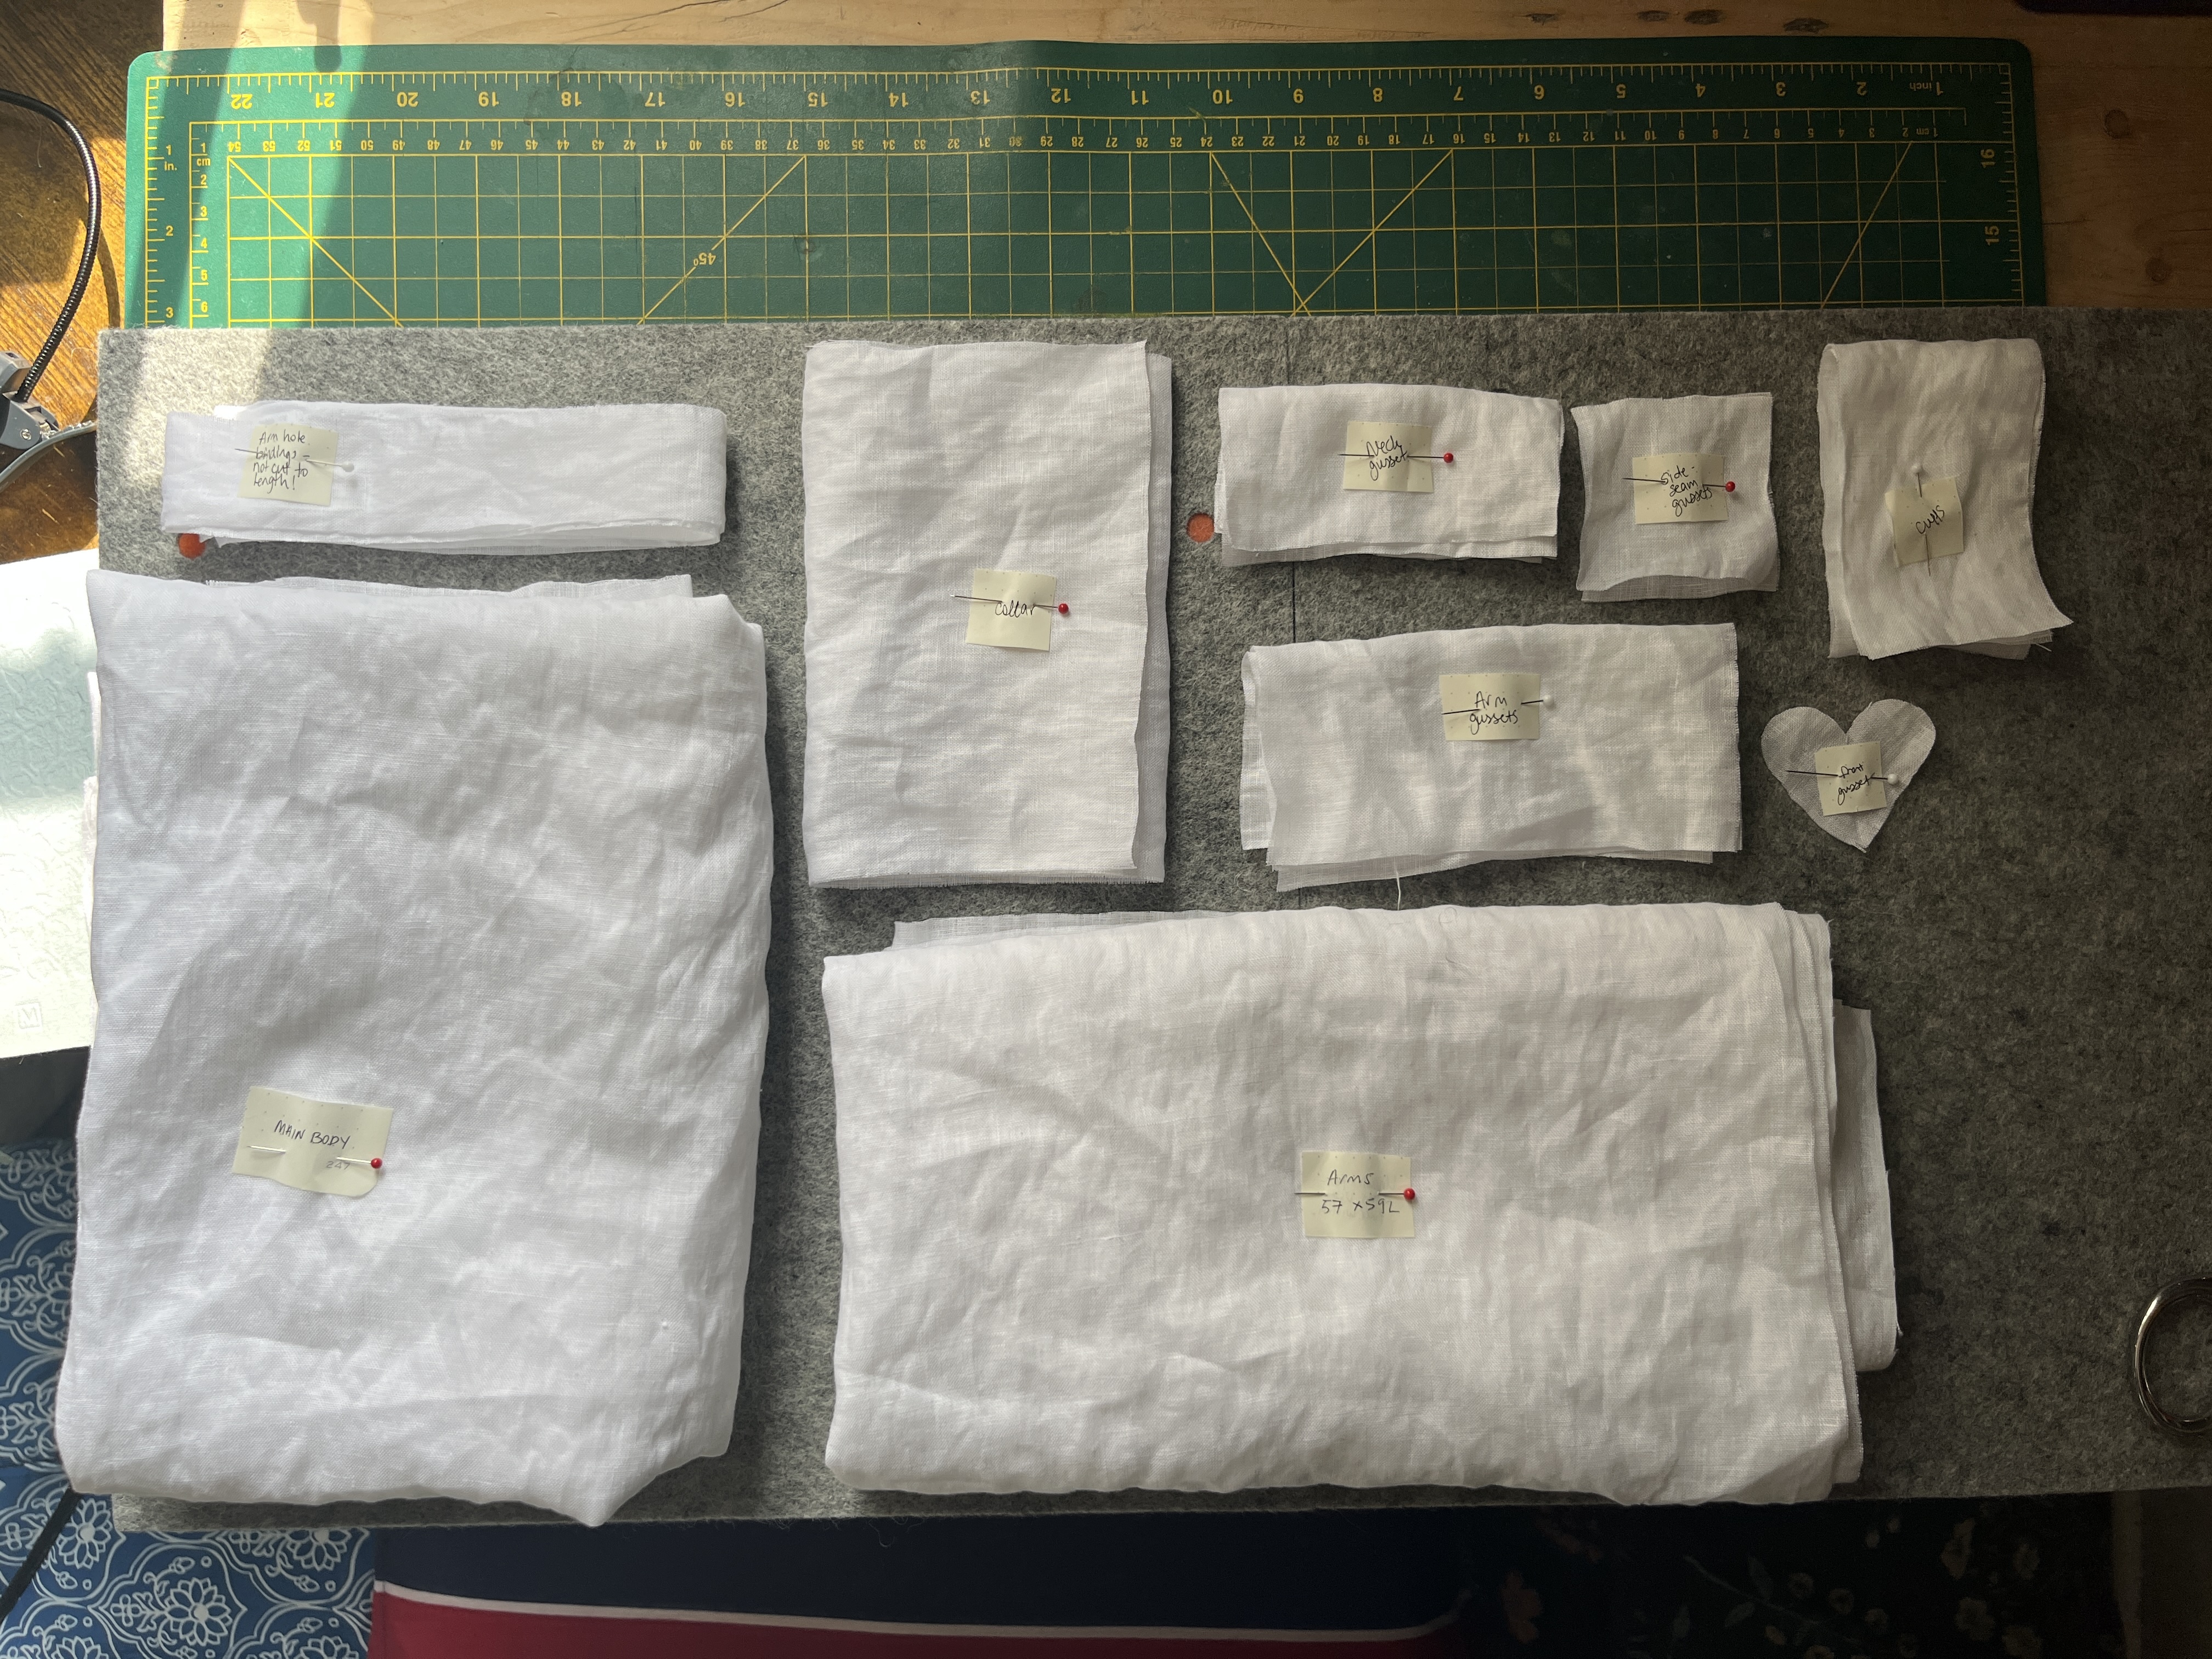
All pieces of the shirt have been cut out of linen
Front slit seam sewn and basted
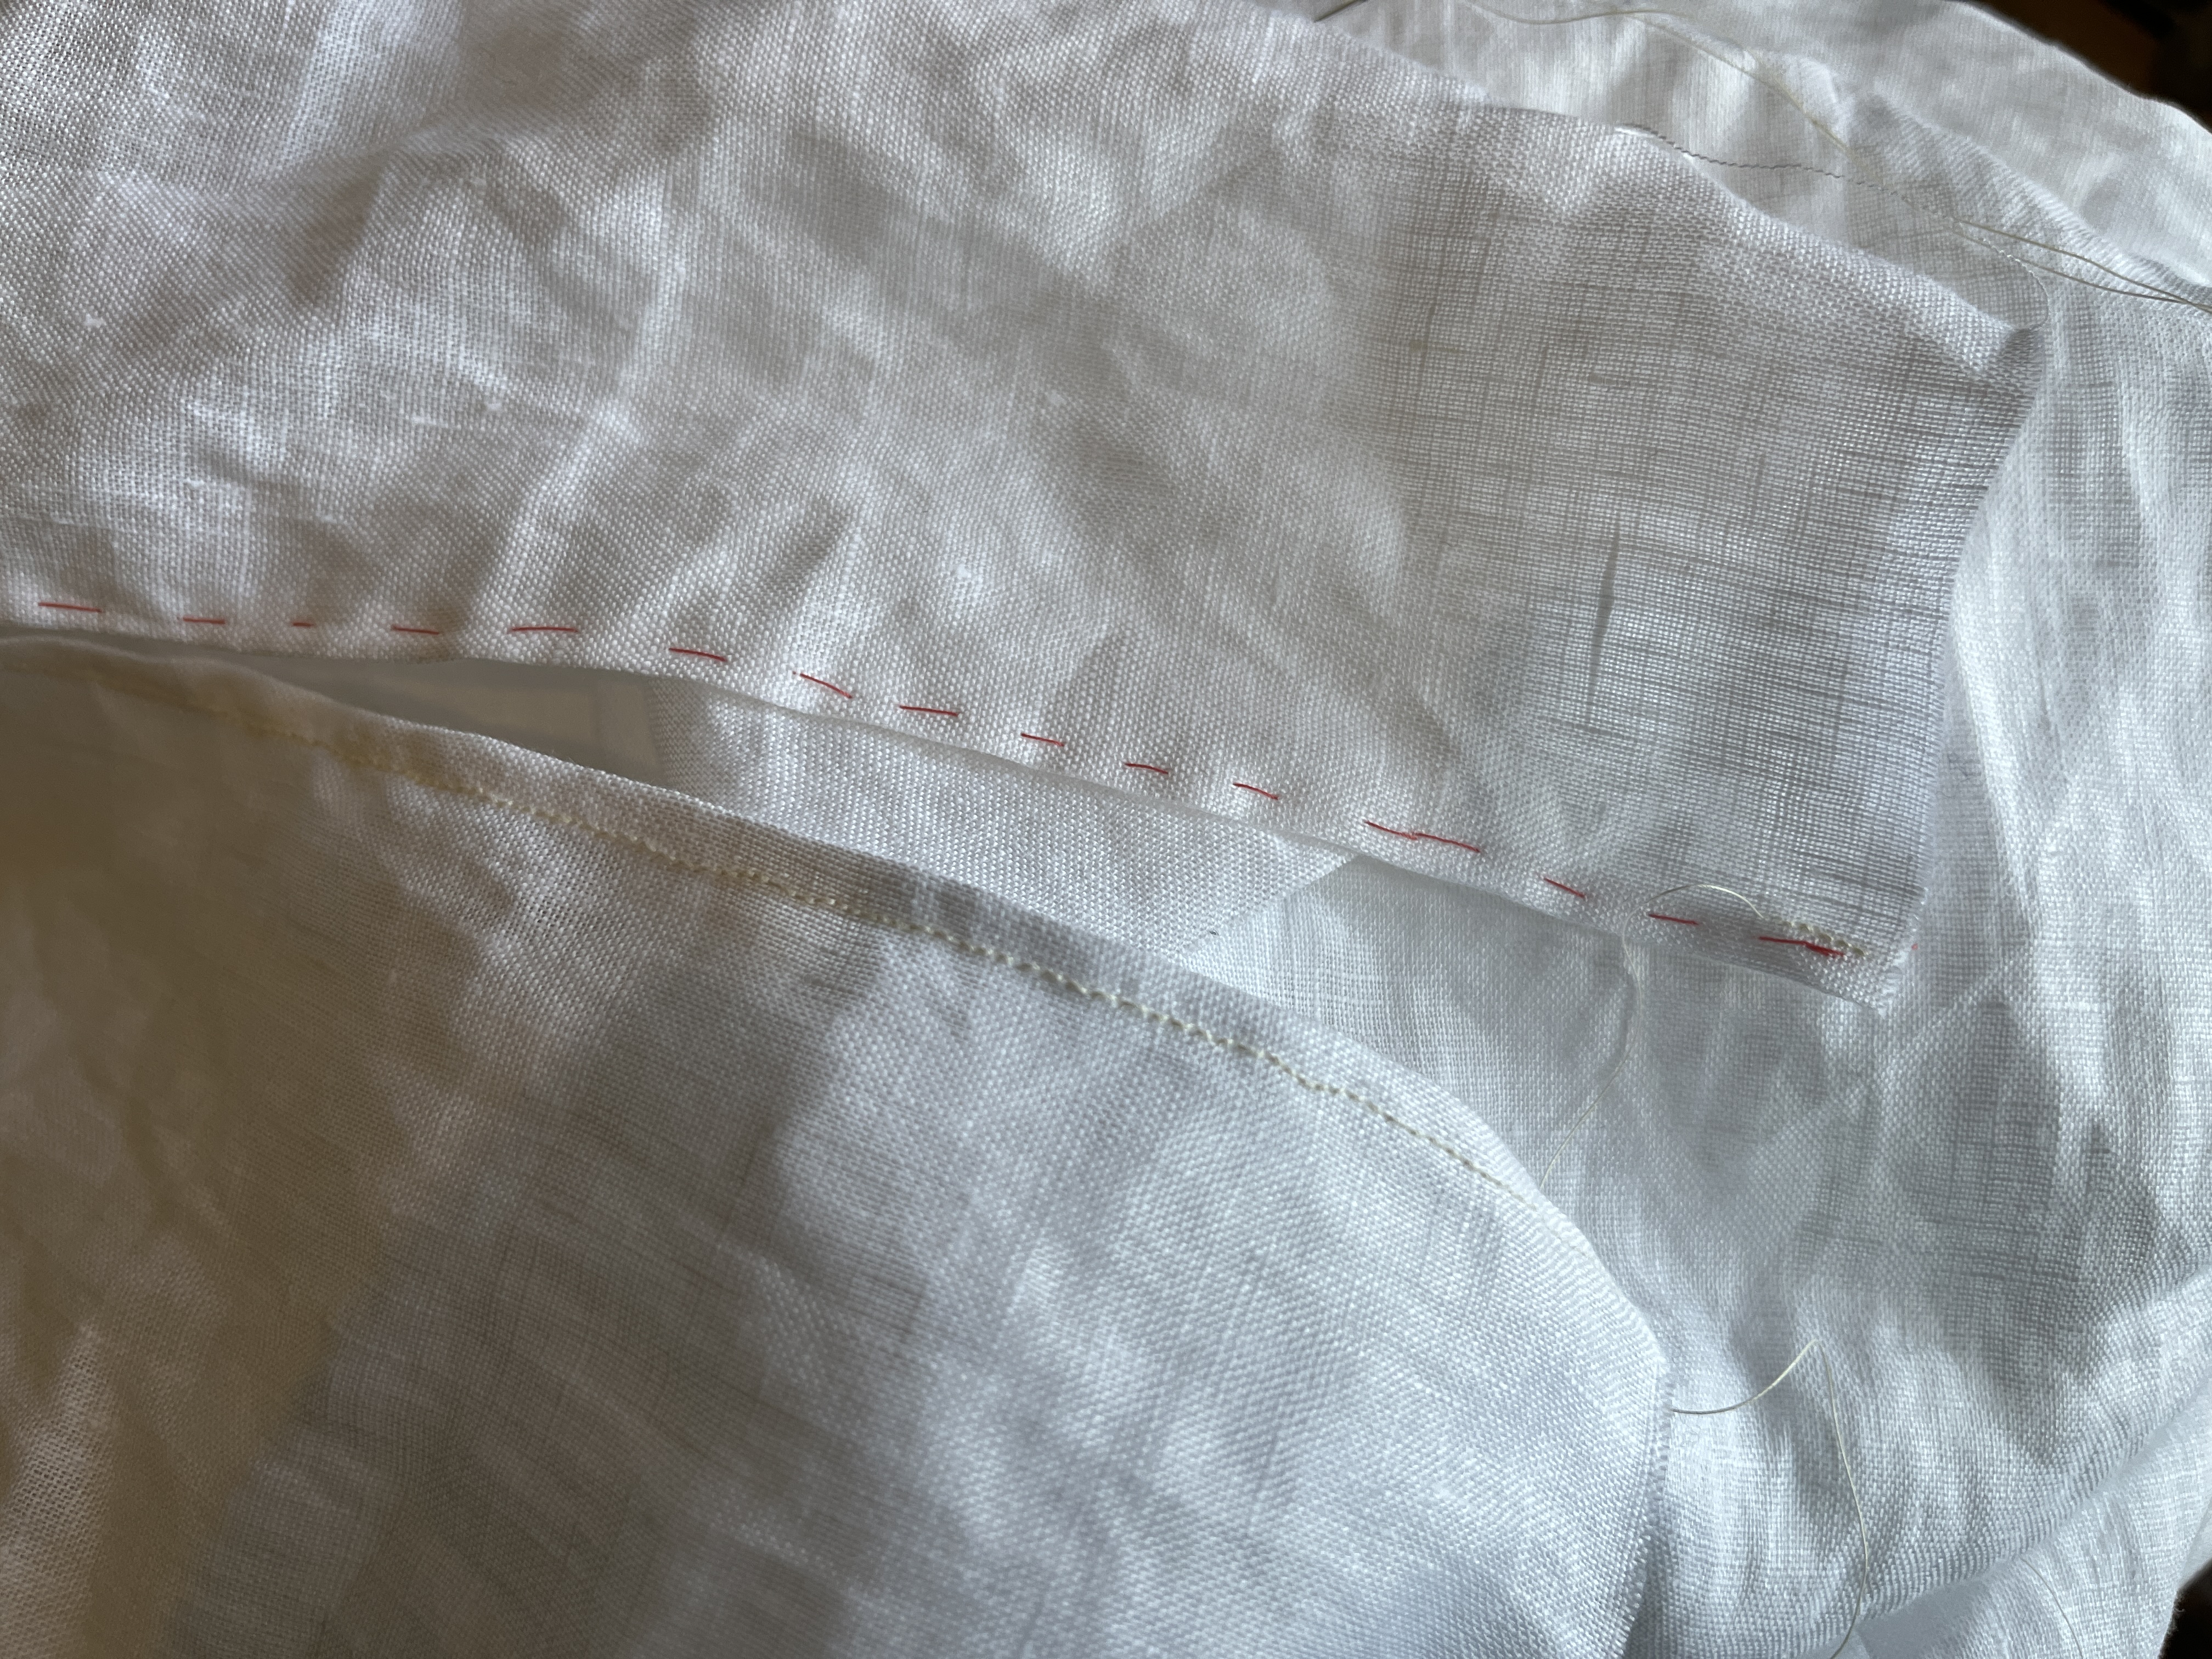
Sewing started! Here I've sewn (sewed??) the first part of the front split seam (words?). It's the front seam of the shirt.
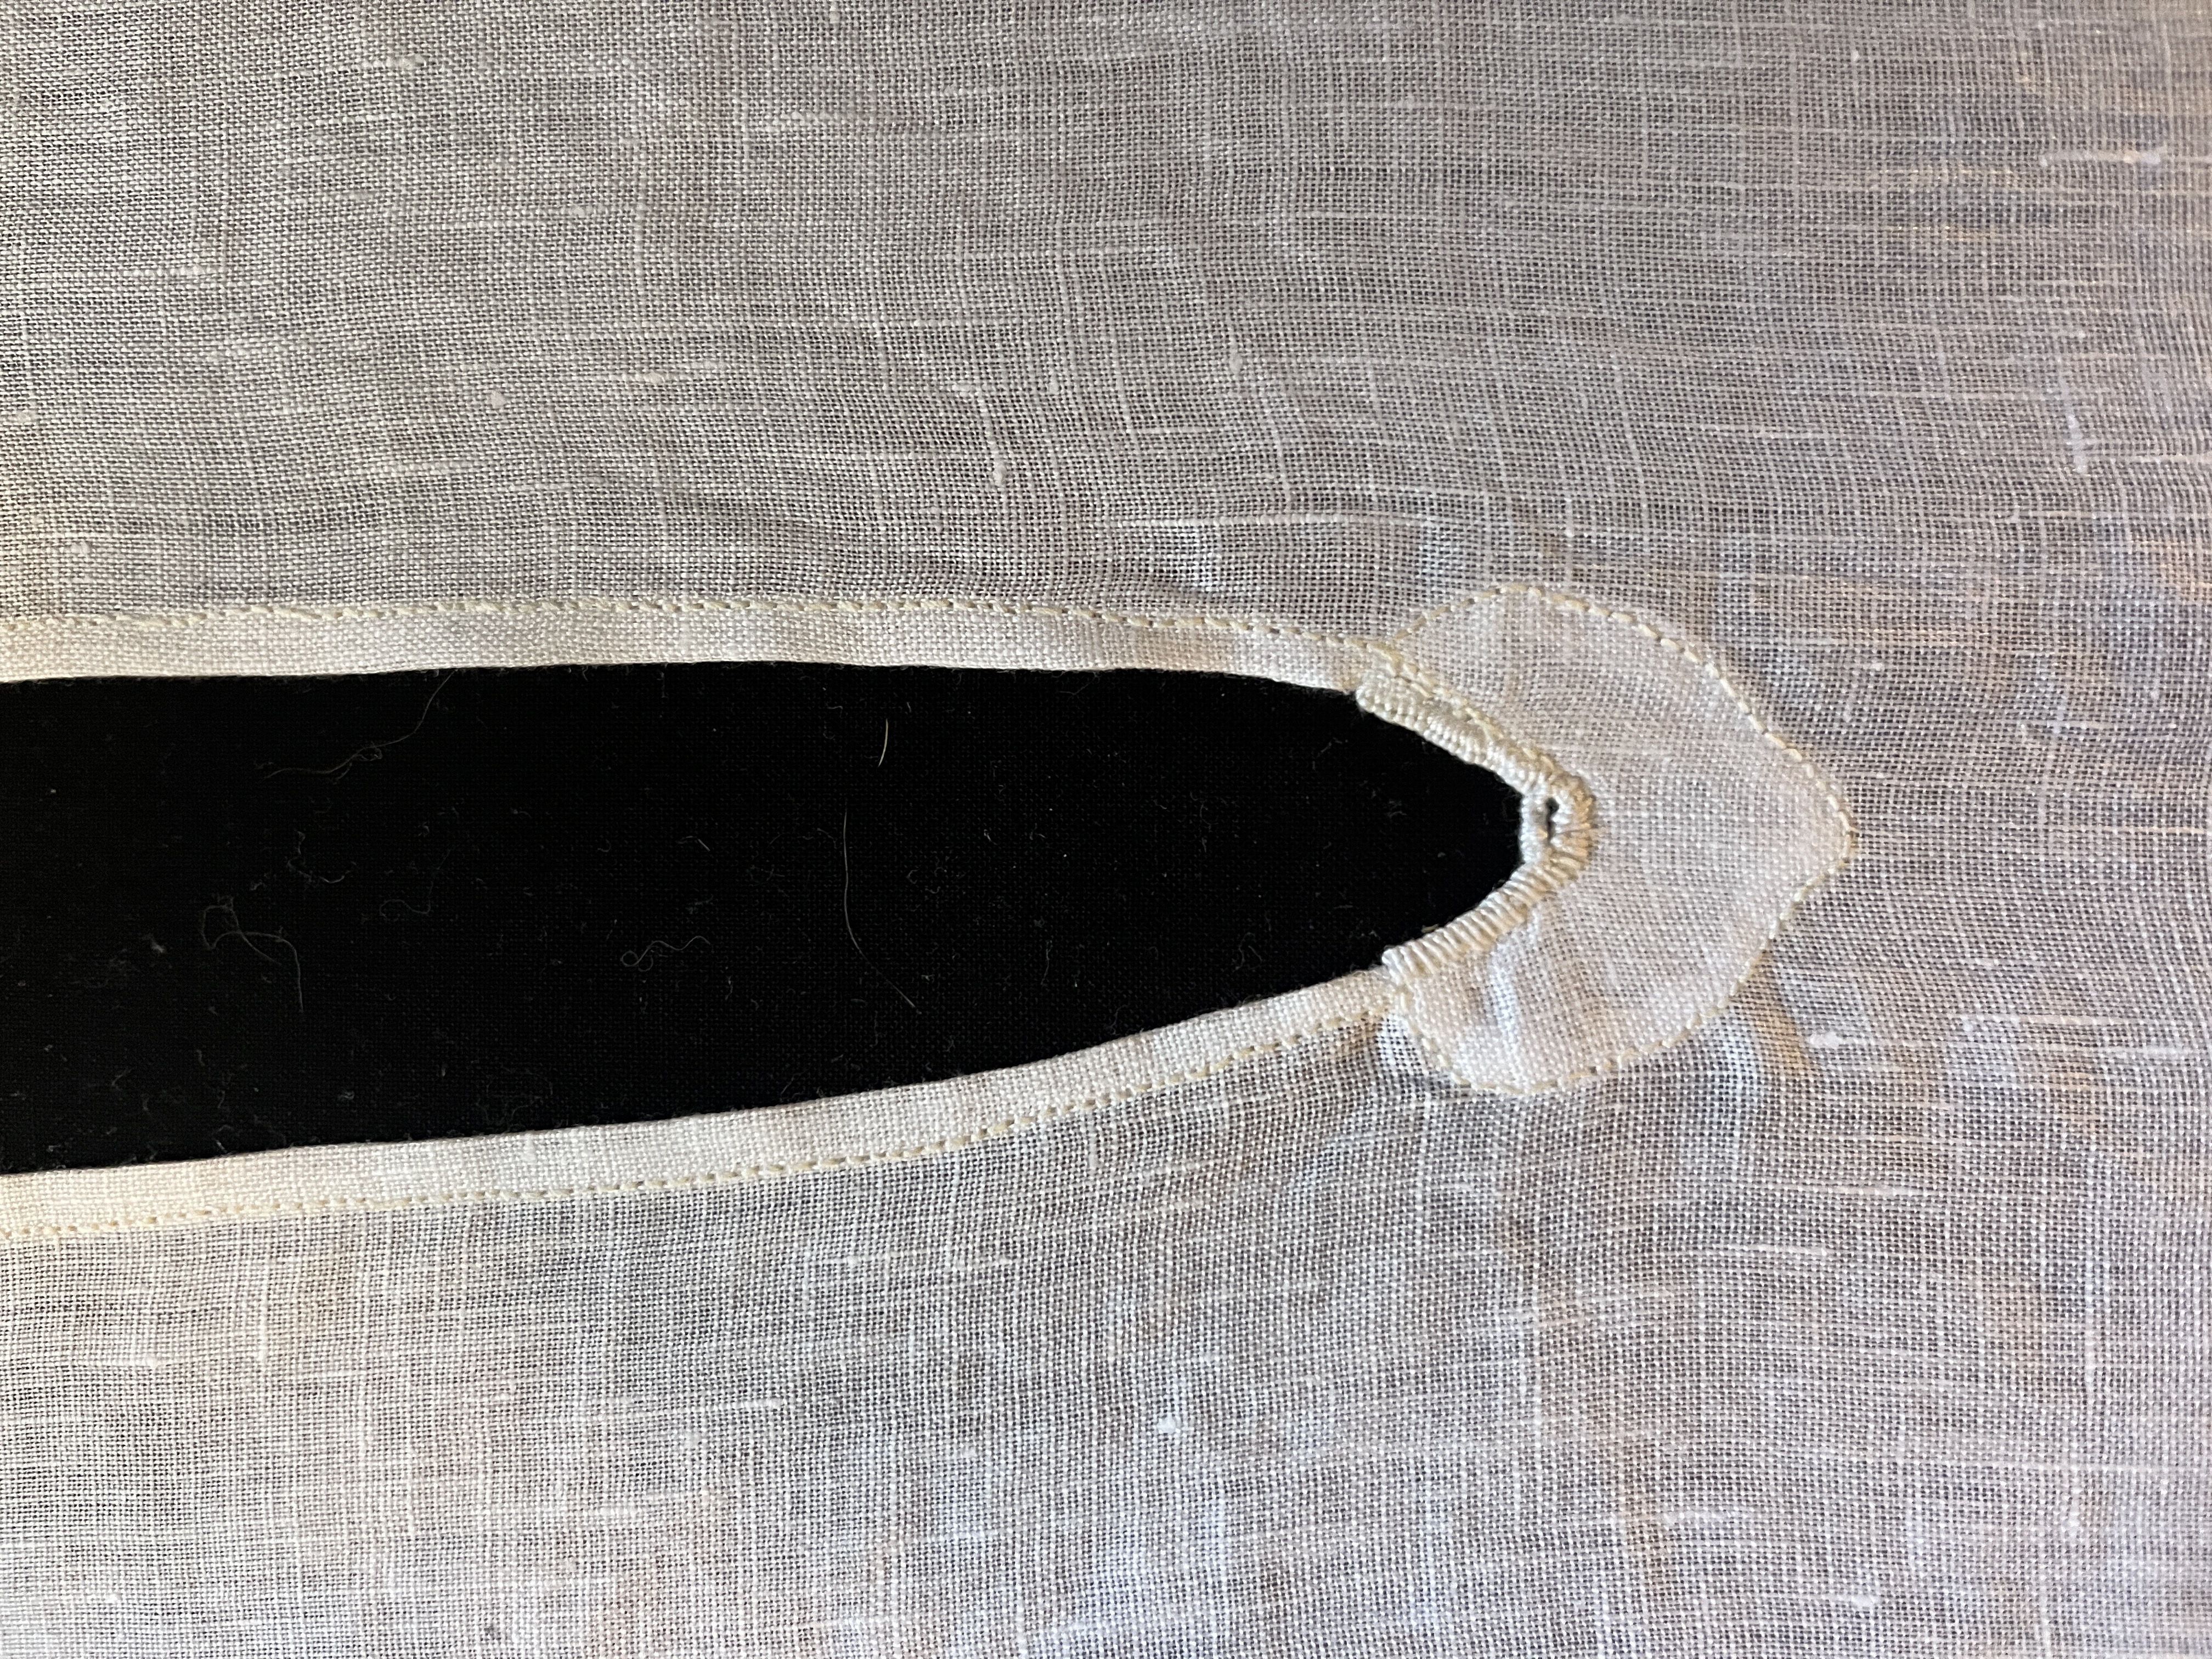
Here I've put in the front gusset. This is a heart-shaped piece (made from the 4.5cm square by folding it in half and cutting out this heart shape). The edges are folded in and this is sewn onto the inside of the shirt (shown here from the outside).

This is reinforced using buttonhole stitches around the edge. A 'bar tack' is the line of threads across the middle, then you do more buttonhole stitches across those threads.

This is all in order to reinforce this front seam so that it doesn't rip, particularly when you take the shirt on and off.
Front gusset is sewn in
Sewing in the basted neck gusset
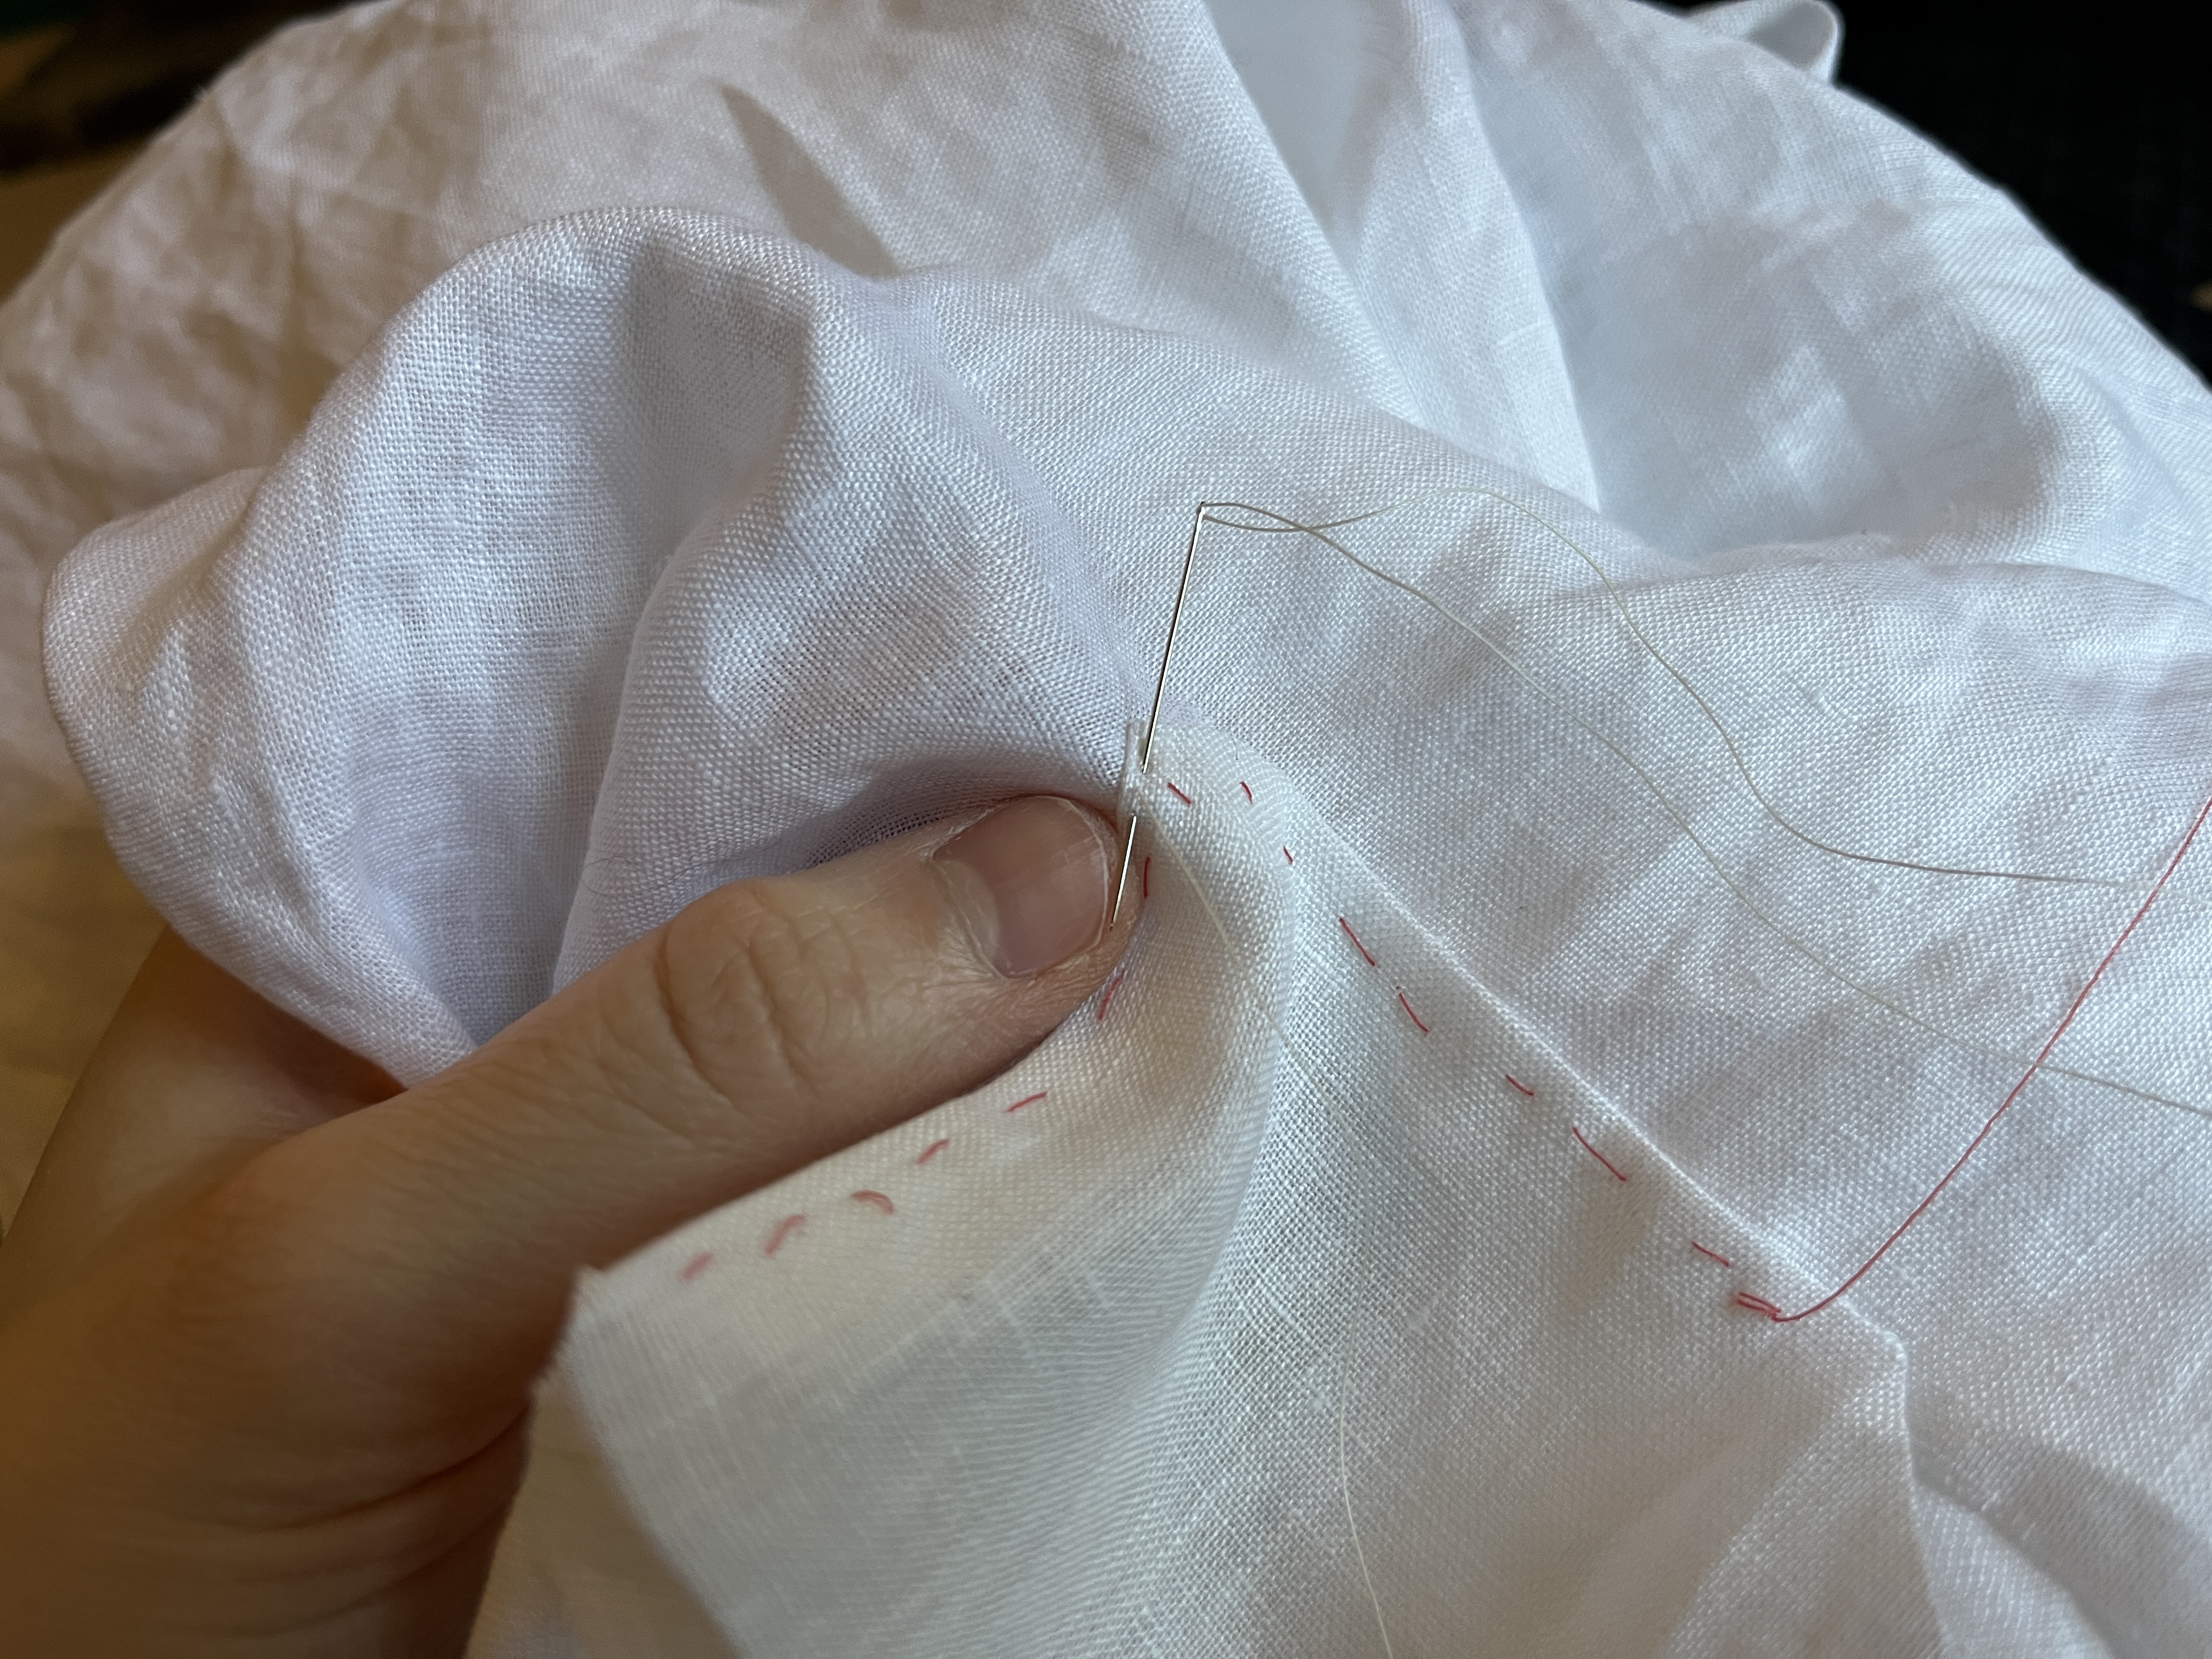
Sewing in the basted neck gusset. This is the inside of the shirt; the other half of the square will be folded over onto the outside of the shirt, and sewn down to make this a triangle.
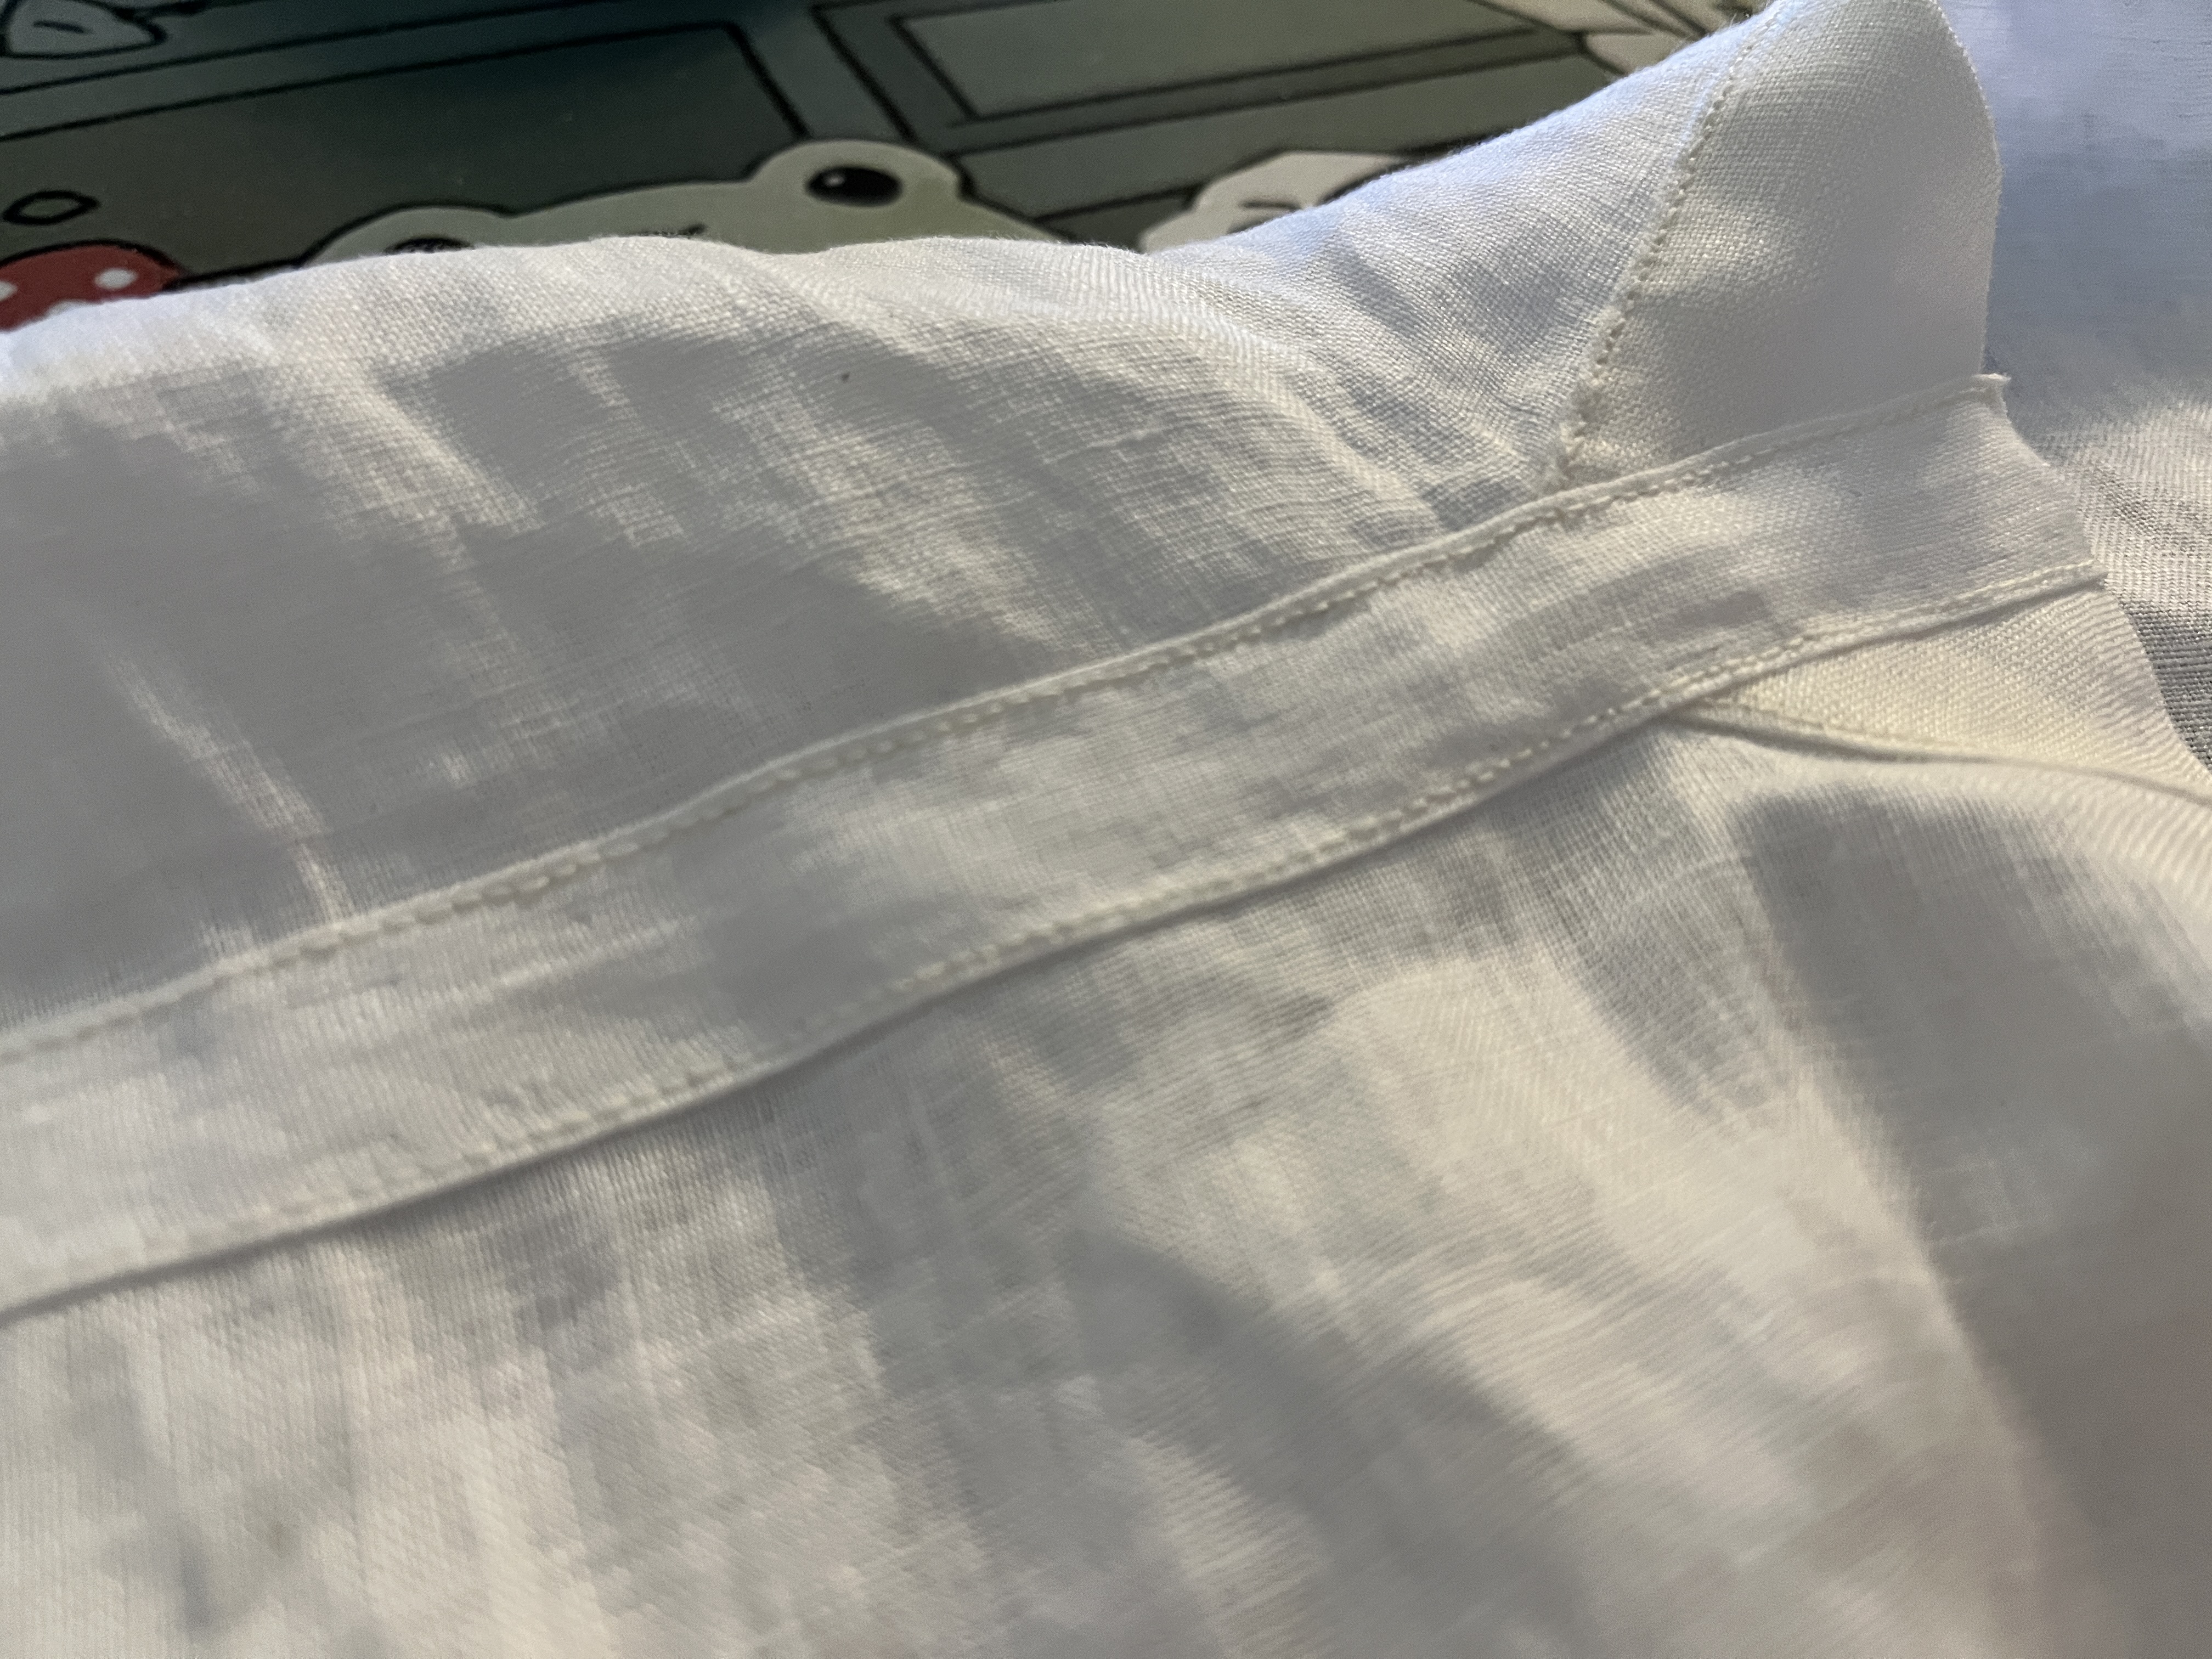
Here I've completed sewing in the neck gusset and I have sewn on the shoulder binding. I don't actually have a seam under this, but I think it will still strengthen the shirt, particularly if I wear a bag over my shoulder.

I think I am getting more of a hang of stitching here. I feel like my stitches are even in length, and I am getting better at keeping them straight.
Shoulder binding has been sewn in
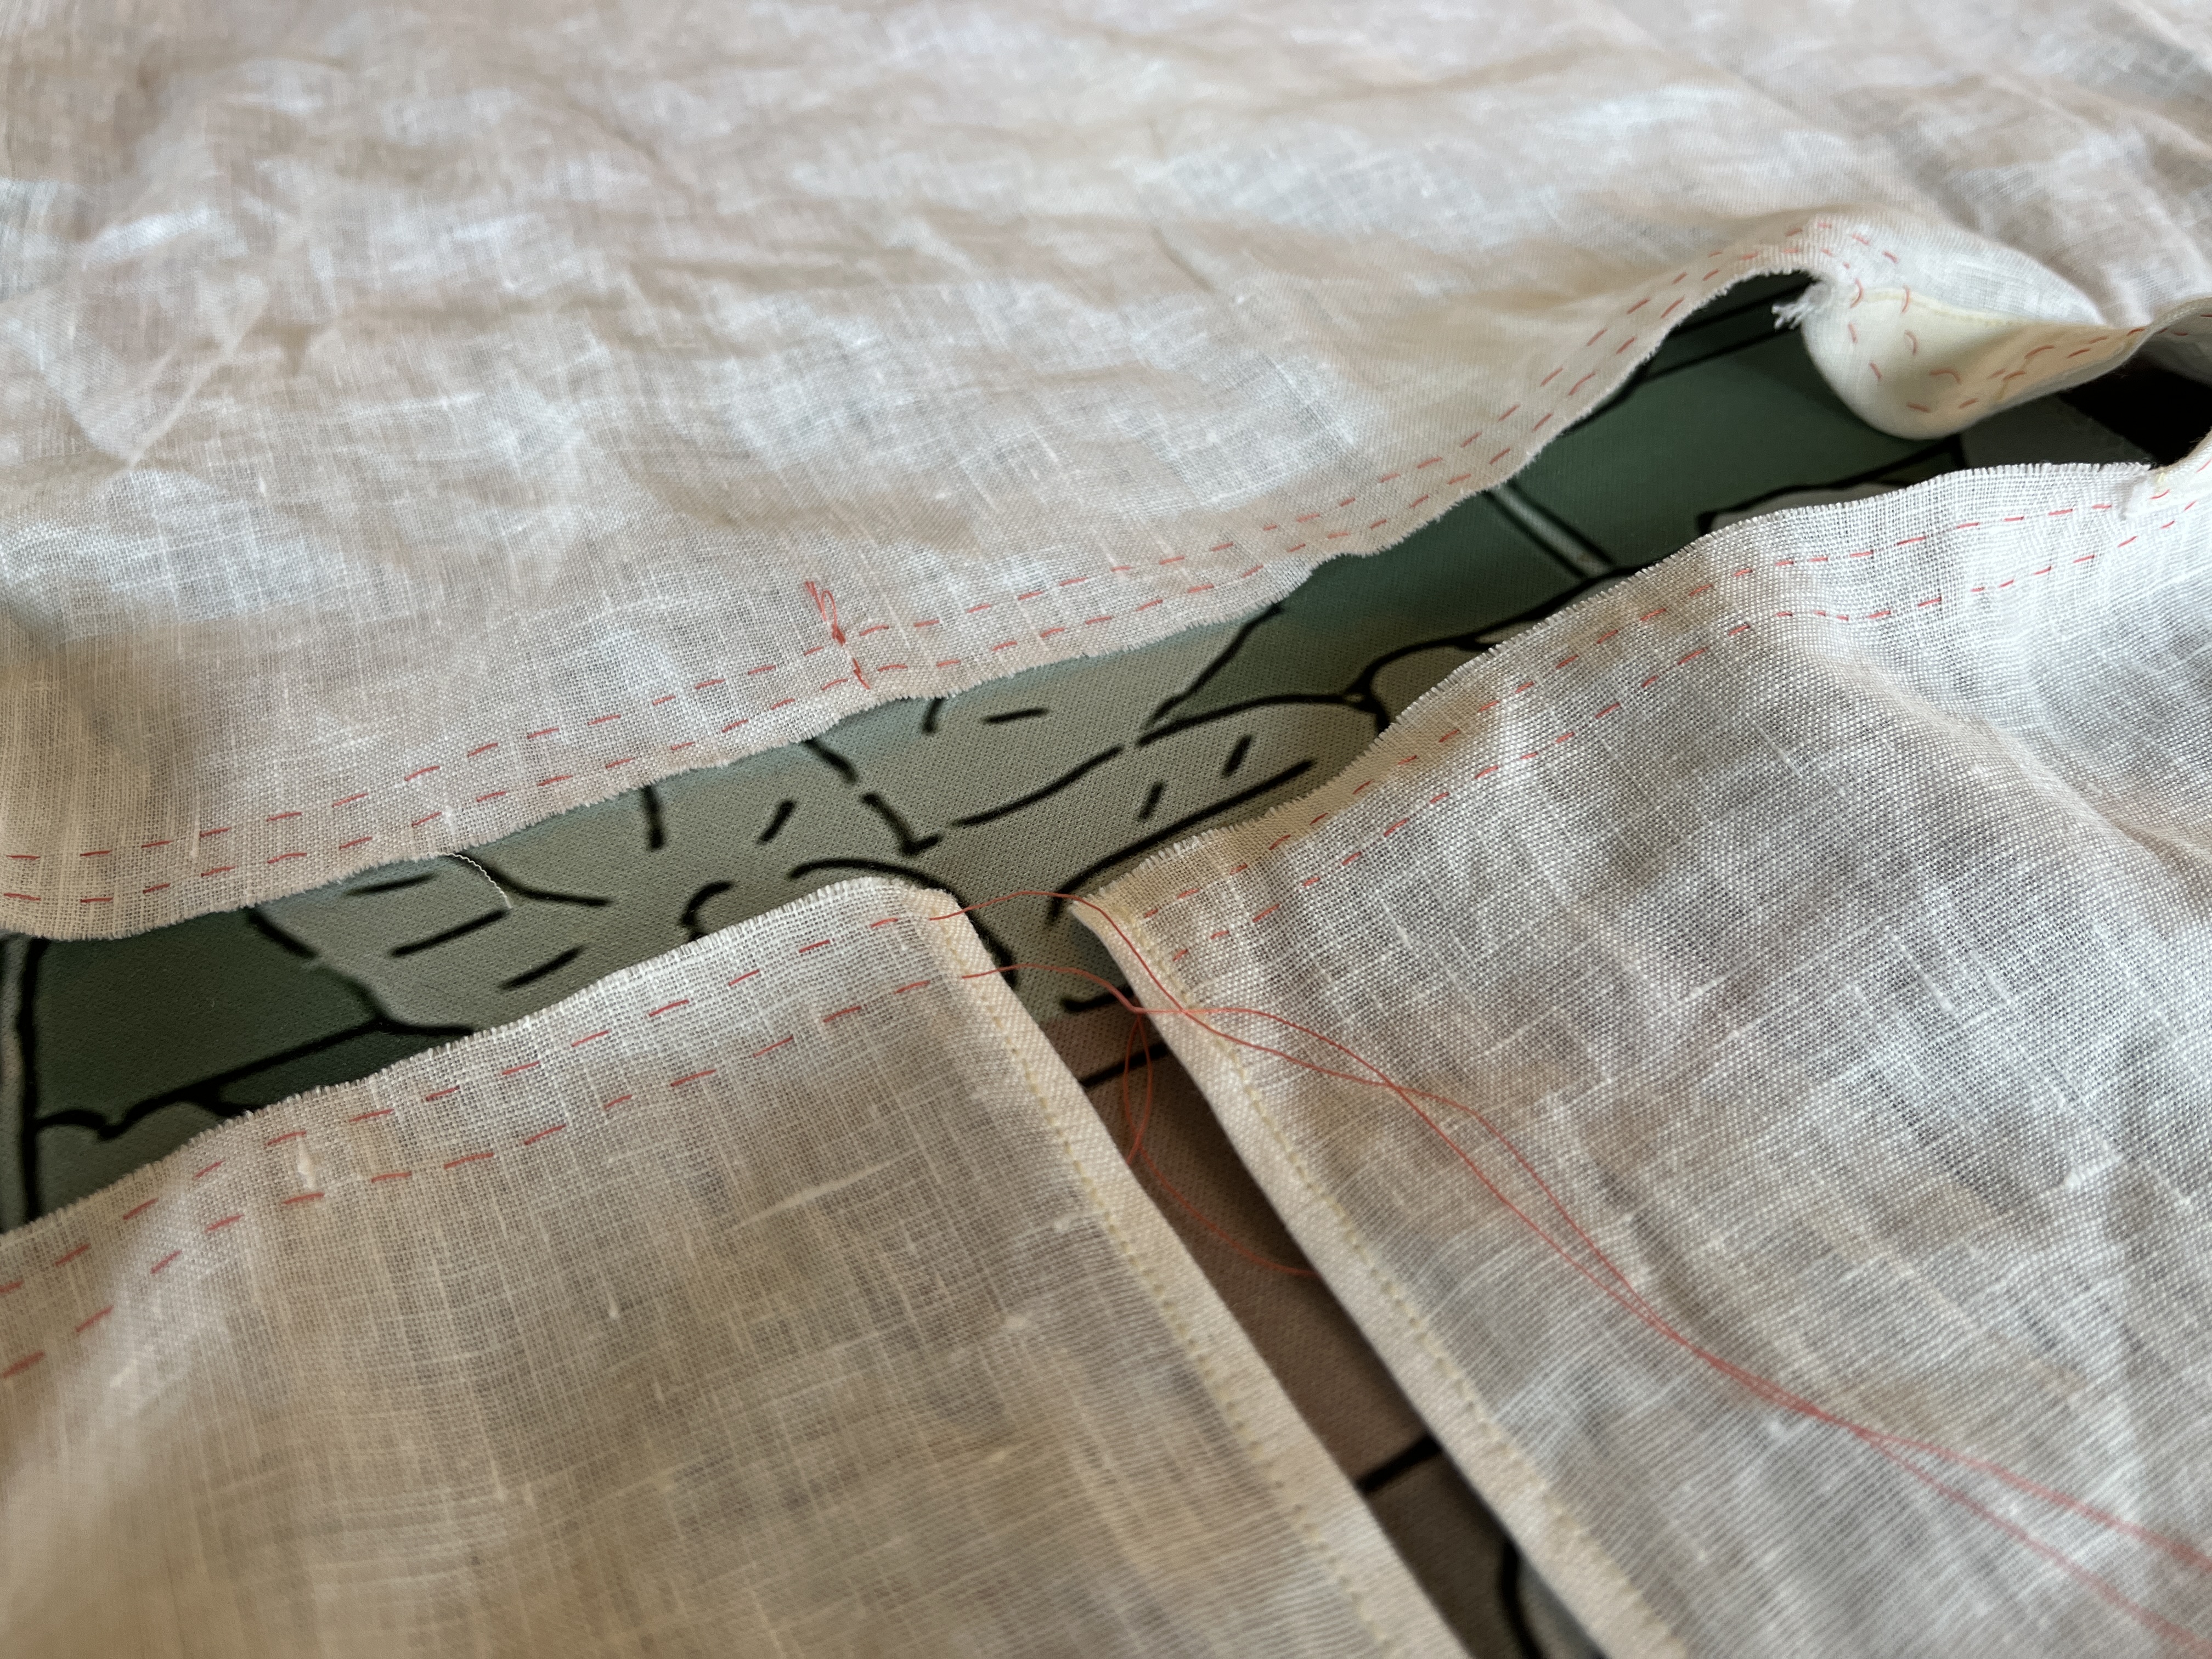
Preparing for neck gathers using two lines of basting thread
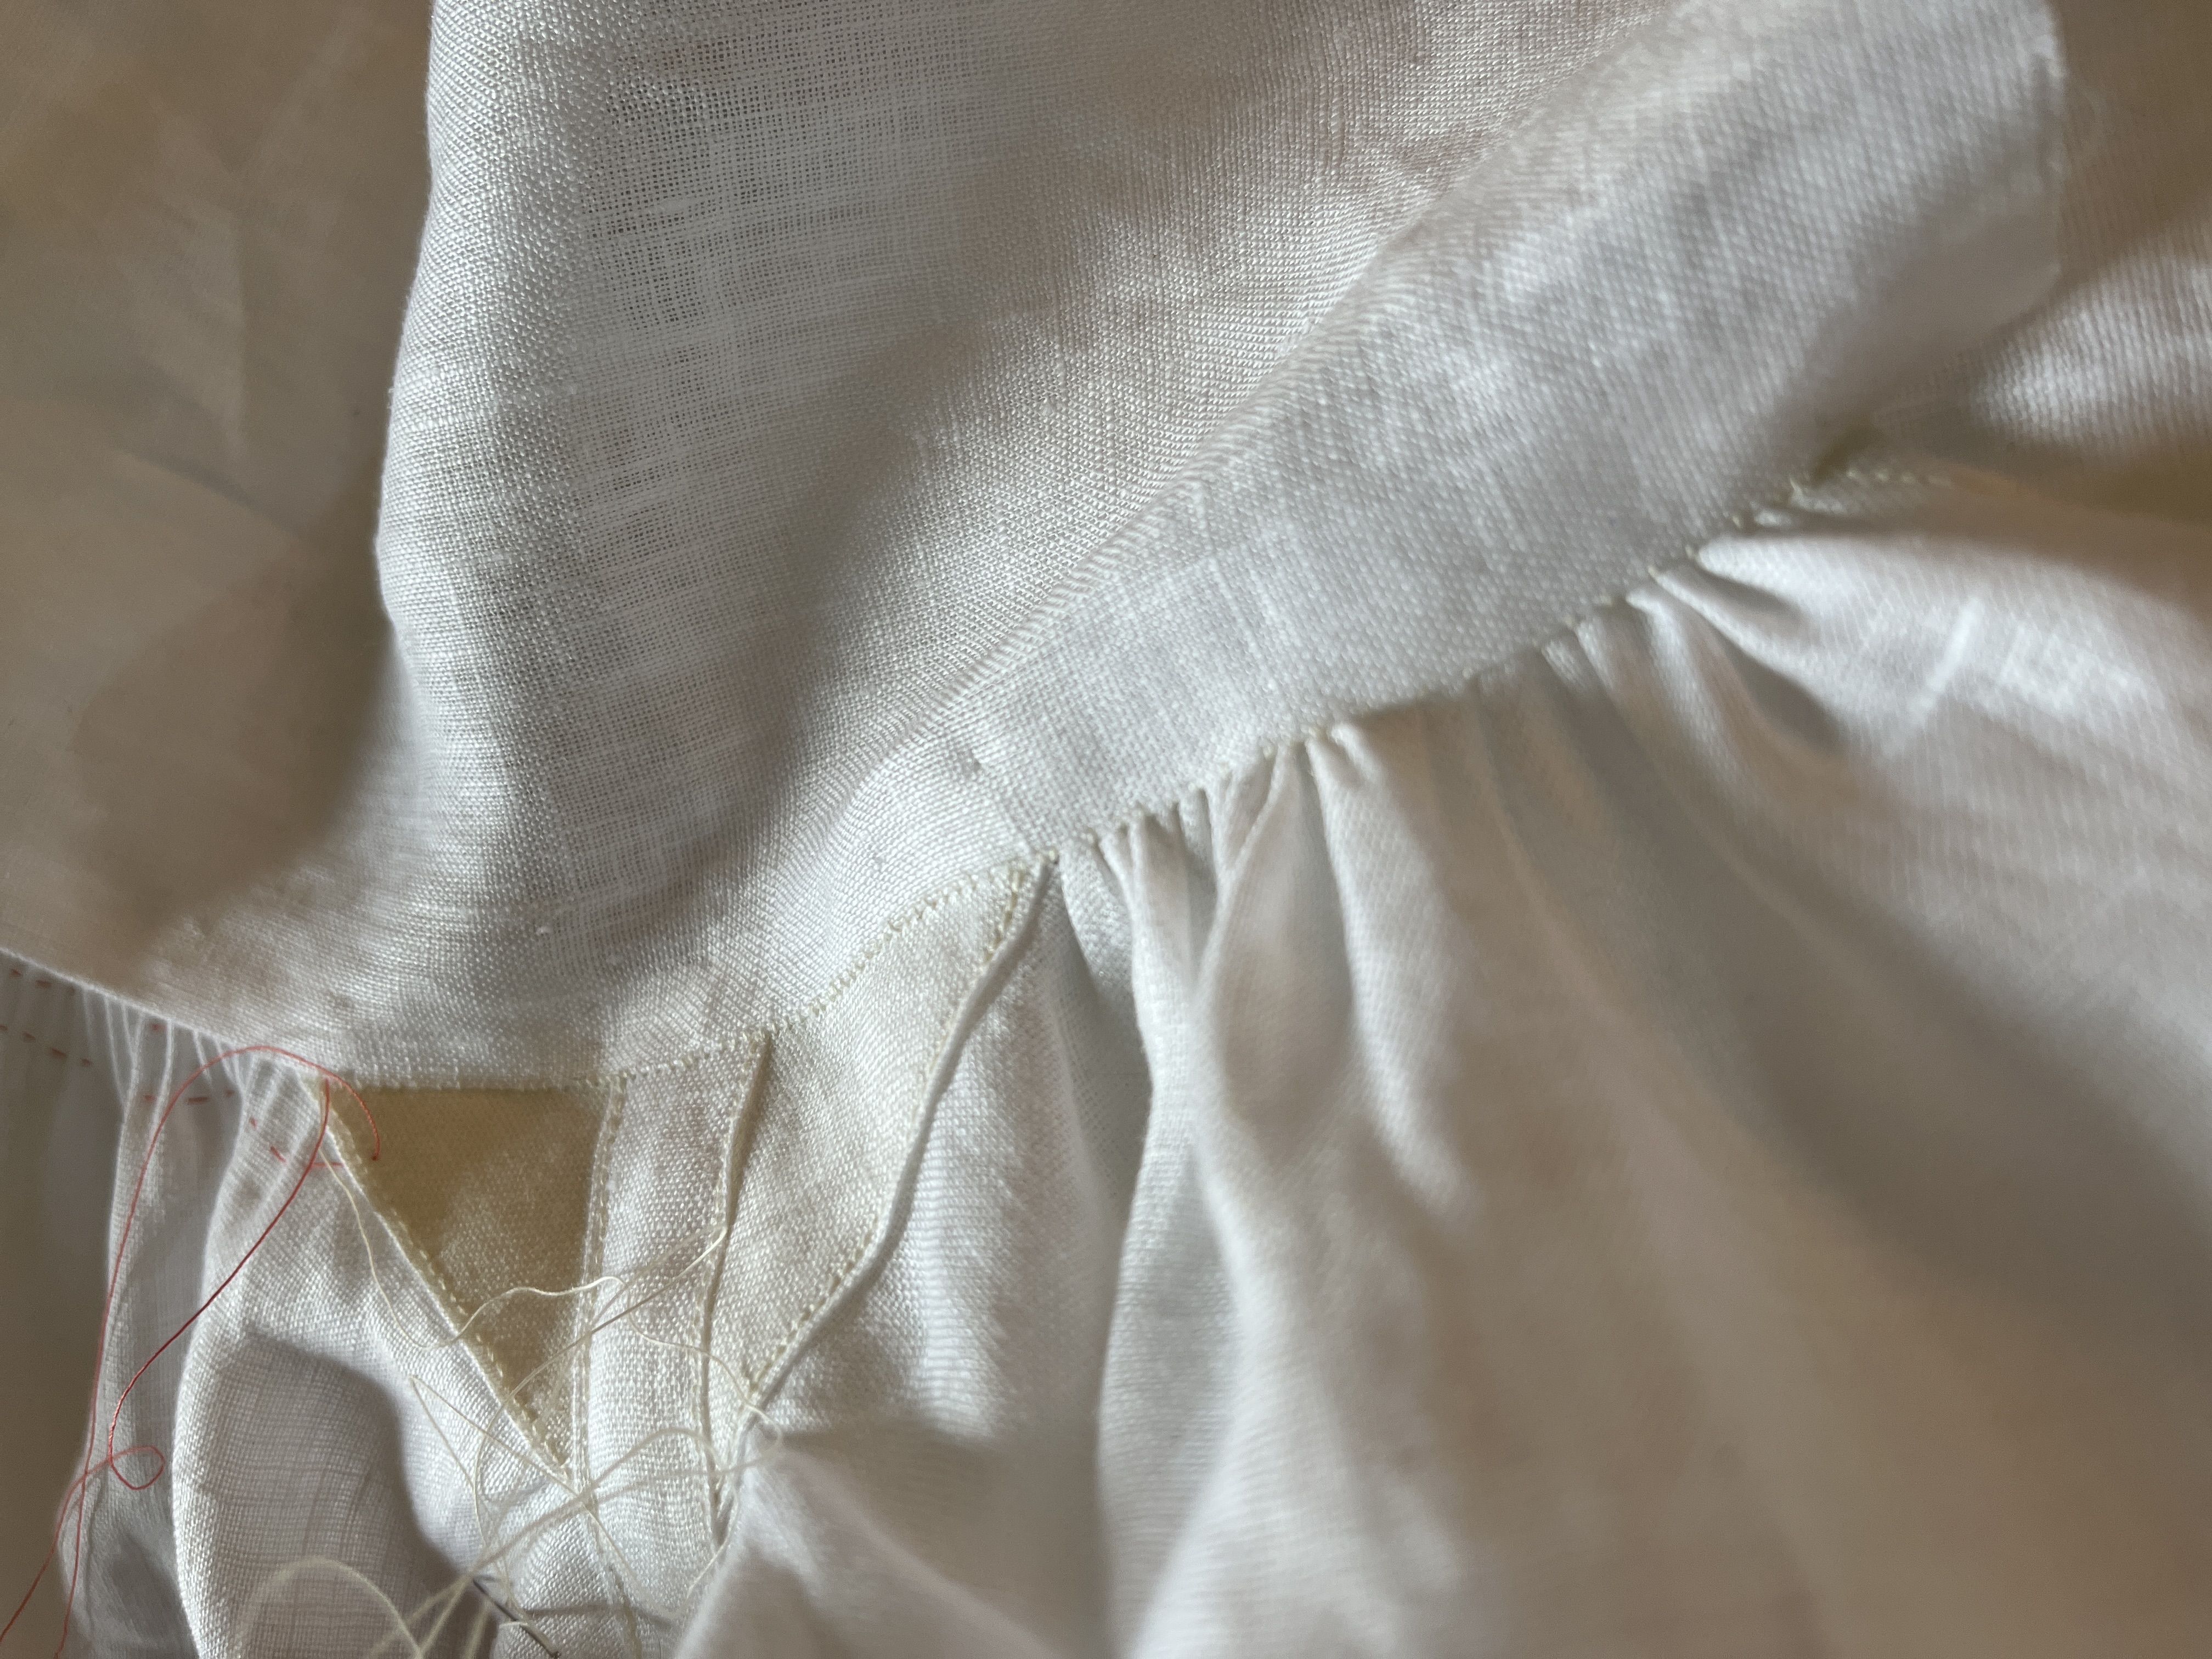
Here I am preparing to sew the collar onto the neck. I have two lines of thread, which are sewn uh, evenly(?) - i.e. I have tried to closely line up the top row of stitches with the bottom ones, so that when I pull the threads and form the gathers they form evenly across the two rows of gathering thread.

I have marked the center of the back of the body piece. This will line up with the center of the collar piece. The 1/4 and 3/4 marks of the collar piece line up with the middle of the shoulder gussets, and the edges (minus 1cm of seam allowance) of the collar line up with the edges of the front seam.

The opening around the neck is larger than the collar; the gathering threads are pulled and gathers are created until the above mentioned parts line up, then gathers are whip stitched on from the body piece to the collar, which has its seam allowance folded over and is lapped over the gathered part of the body.
Neck gathers are partially sewn in
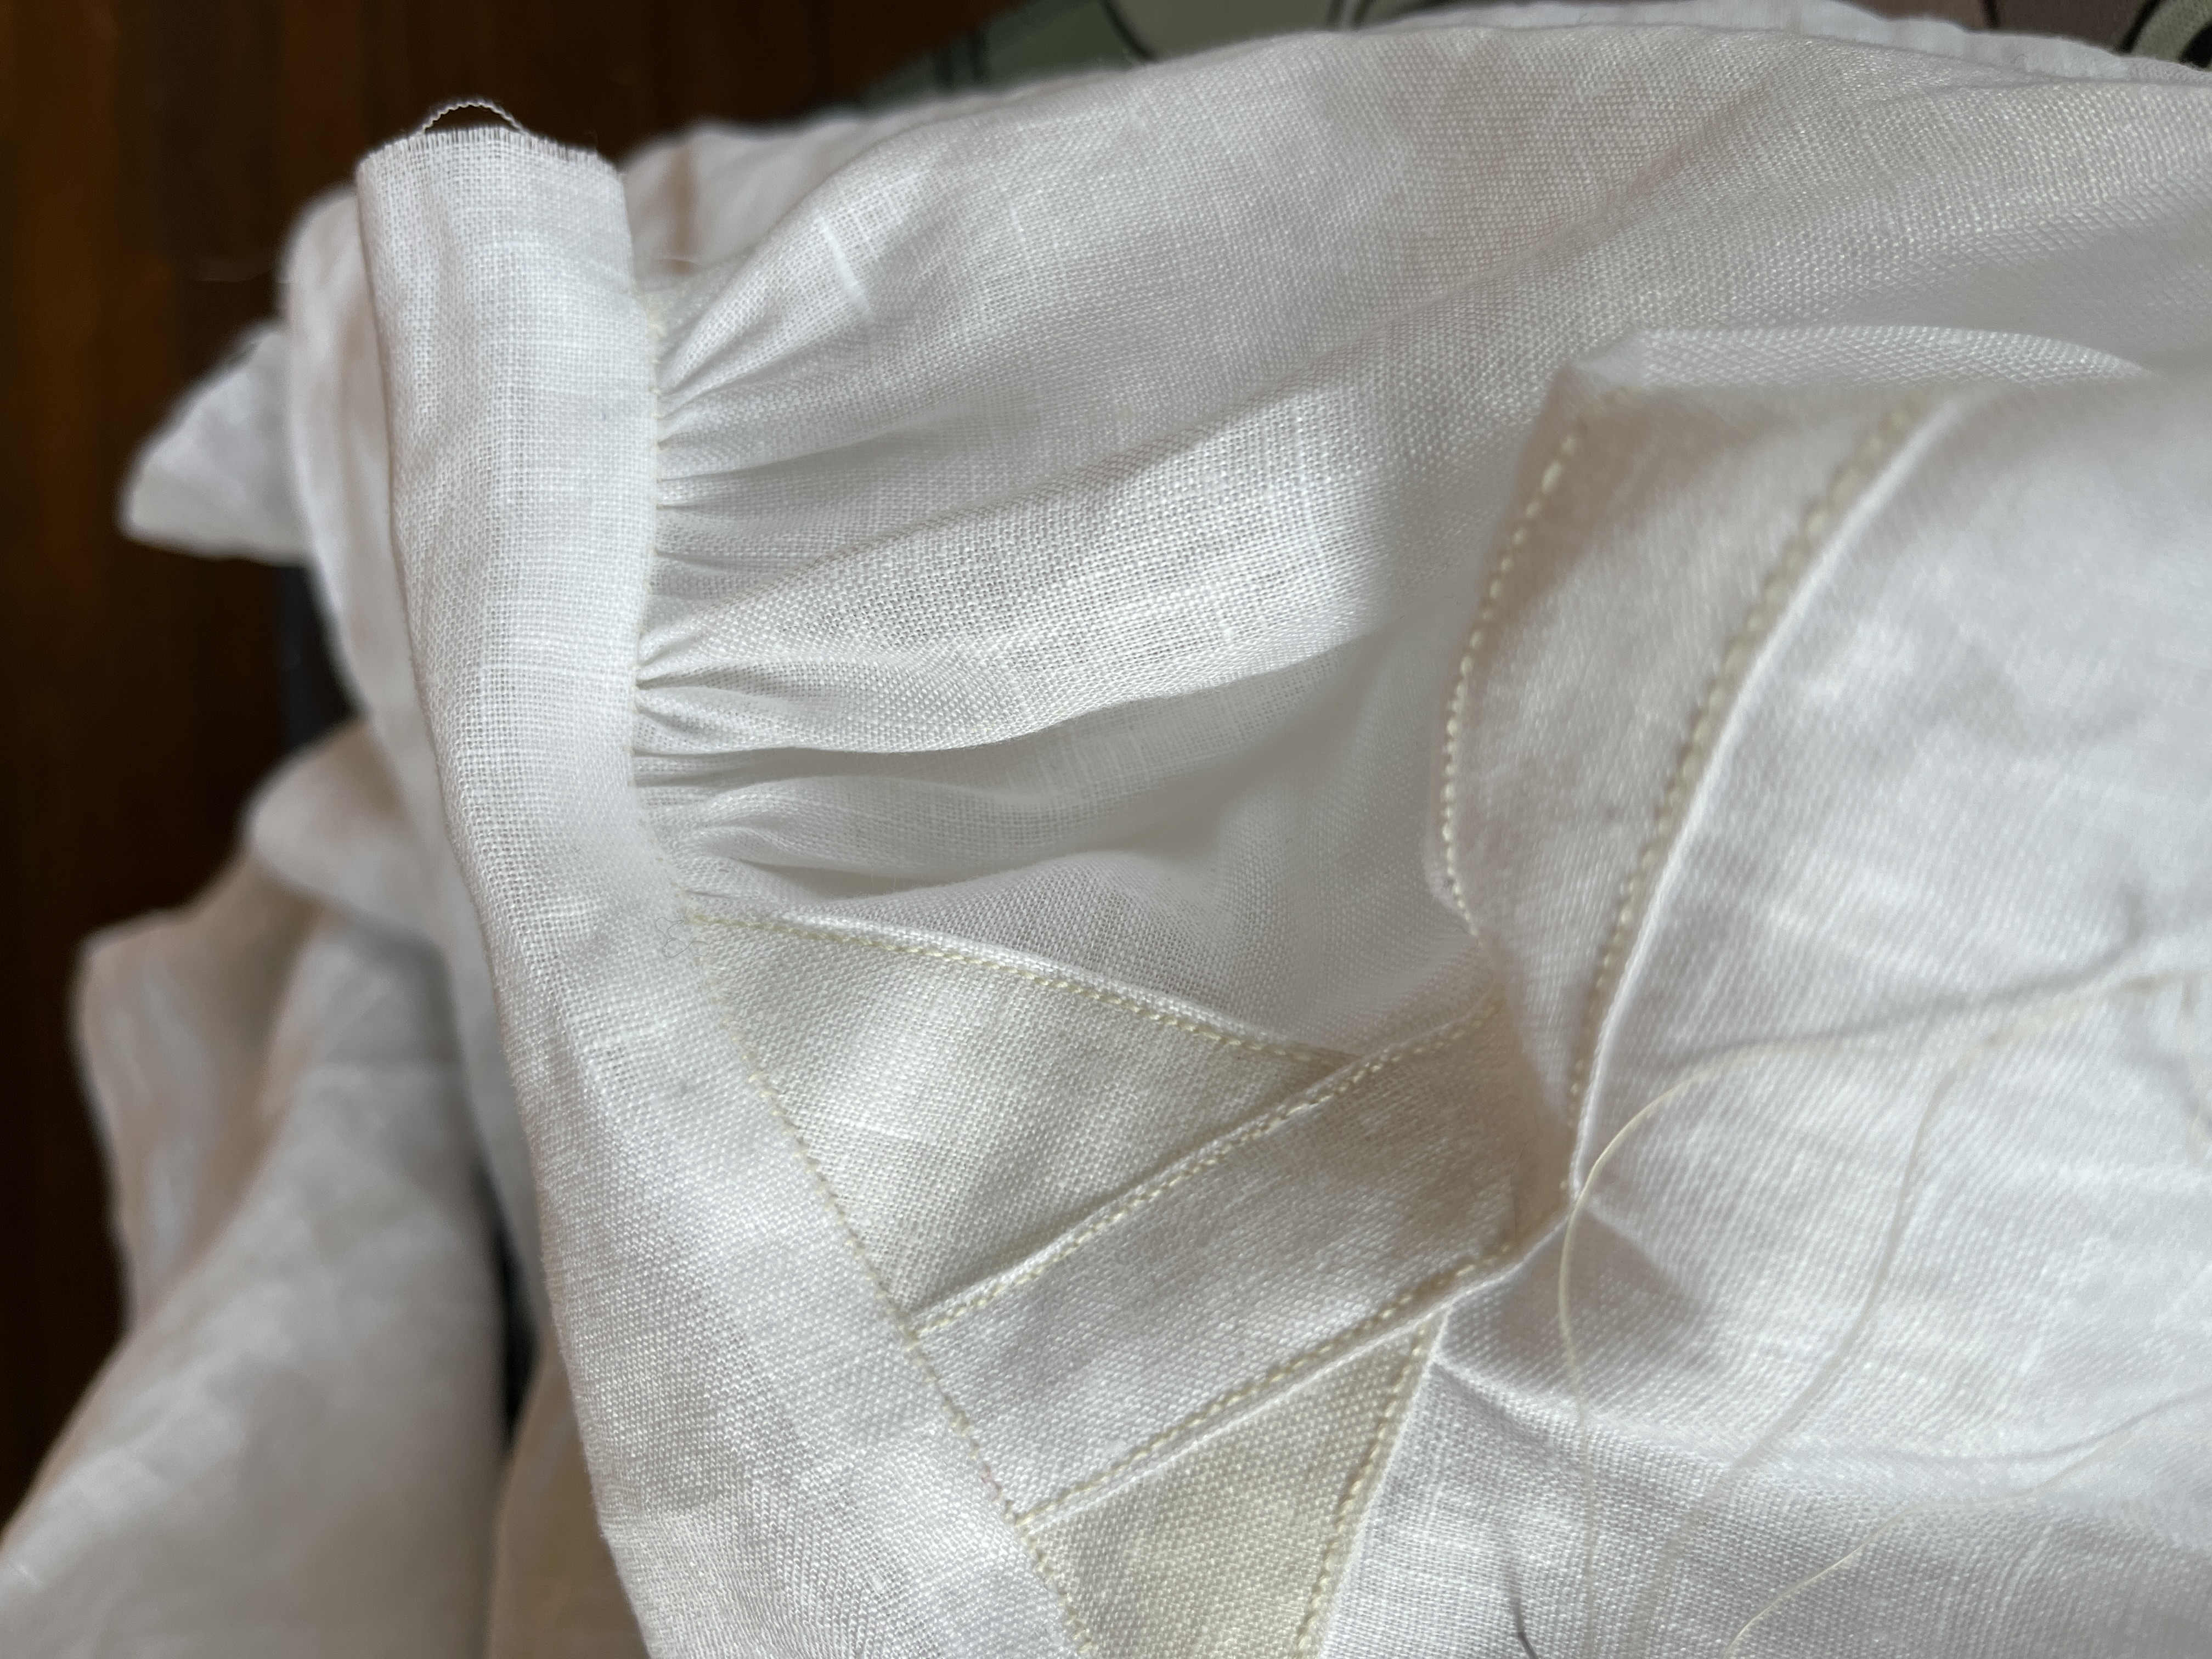
Neck gathers have finished being sewn in
Here is the completed neck section.

Also I think it's inescapably clear at this point that little did I know that you can actually over-iron linen, and this is why the shoulder gusset is considerably darker than the surrounding fabric. I was trying to get it really flat after sewing on the first side and clearly held the iron on it for quite some time ... woops.

That's where I'm at right now. I'm currently preparing to sew the arms on, which I am nervous but excited for.

Vincent very kindly answered a question I had about how to attach the arm + the binding, and I am hopeful I can make a beautiful and careful seam here. I feel like I am making good progress, it is starting to look like a shirt!