The person who bought the pattern took pictures of it and provided info on how to scale up the sheets, and
in what ratio, so that we could get things printed to scale. I had never messed around with scaling pdf
files, and it took .. a lot of tries to figure out what I thought was the right way to scale things. The
main problem I had was that a scaled pdf looks basically identical to an unscaled one; I ended up using a
combination of
pdfjam
,
ghostscript
, and
pdfinfo
to scale and validate the different pattern
pieces.
Two of the three pieces were scaled up similarly, but the third required a different ratio; I thought that
if I ran into any trouble, it would be with the mismatch between pieces of the first and second page, and
those of the third.

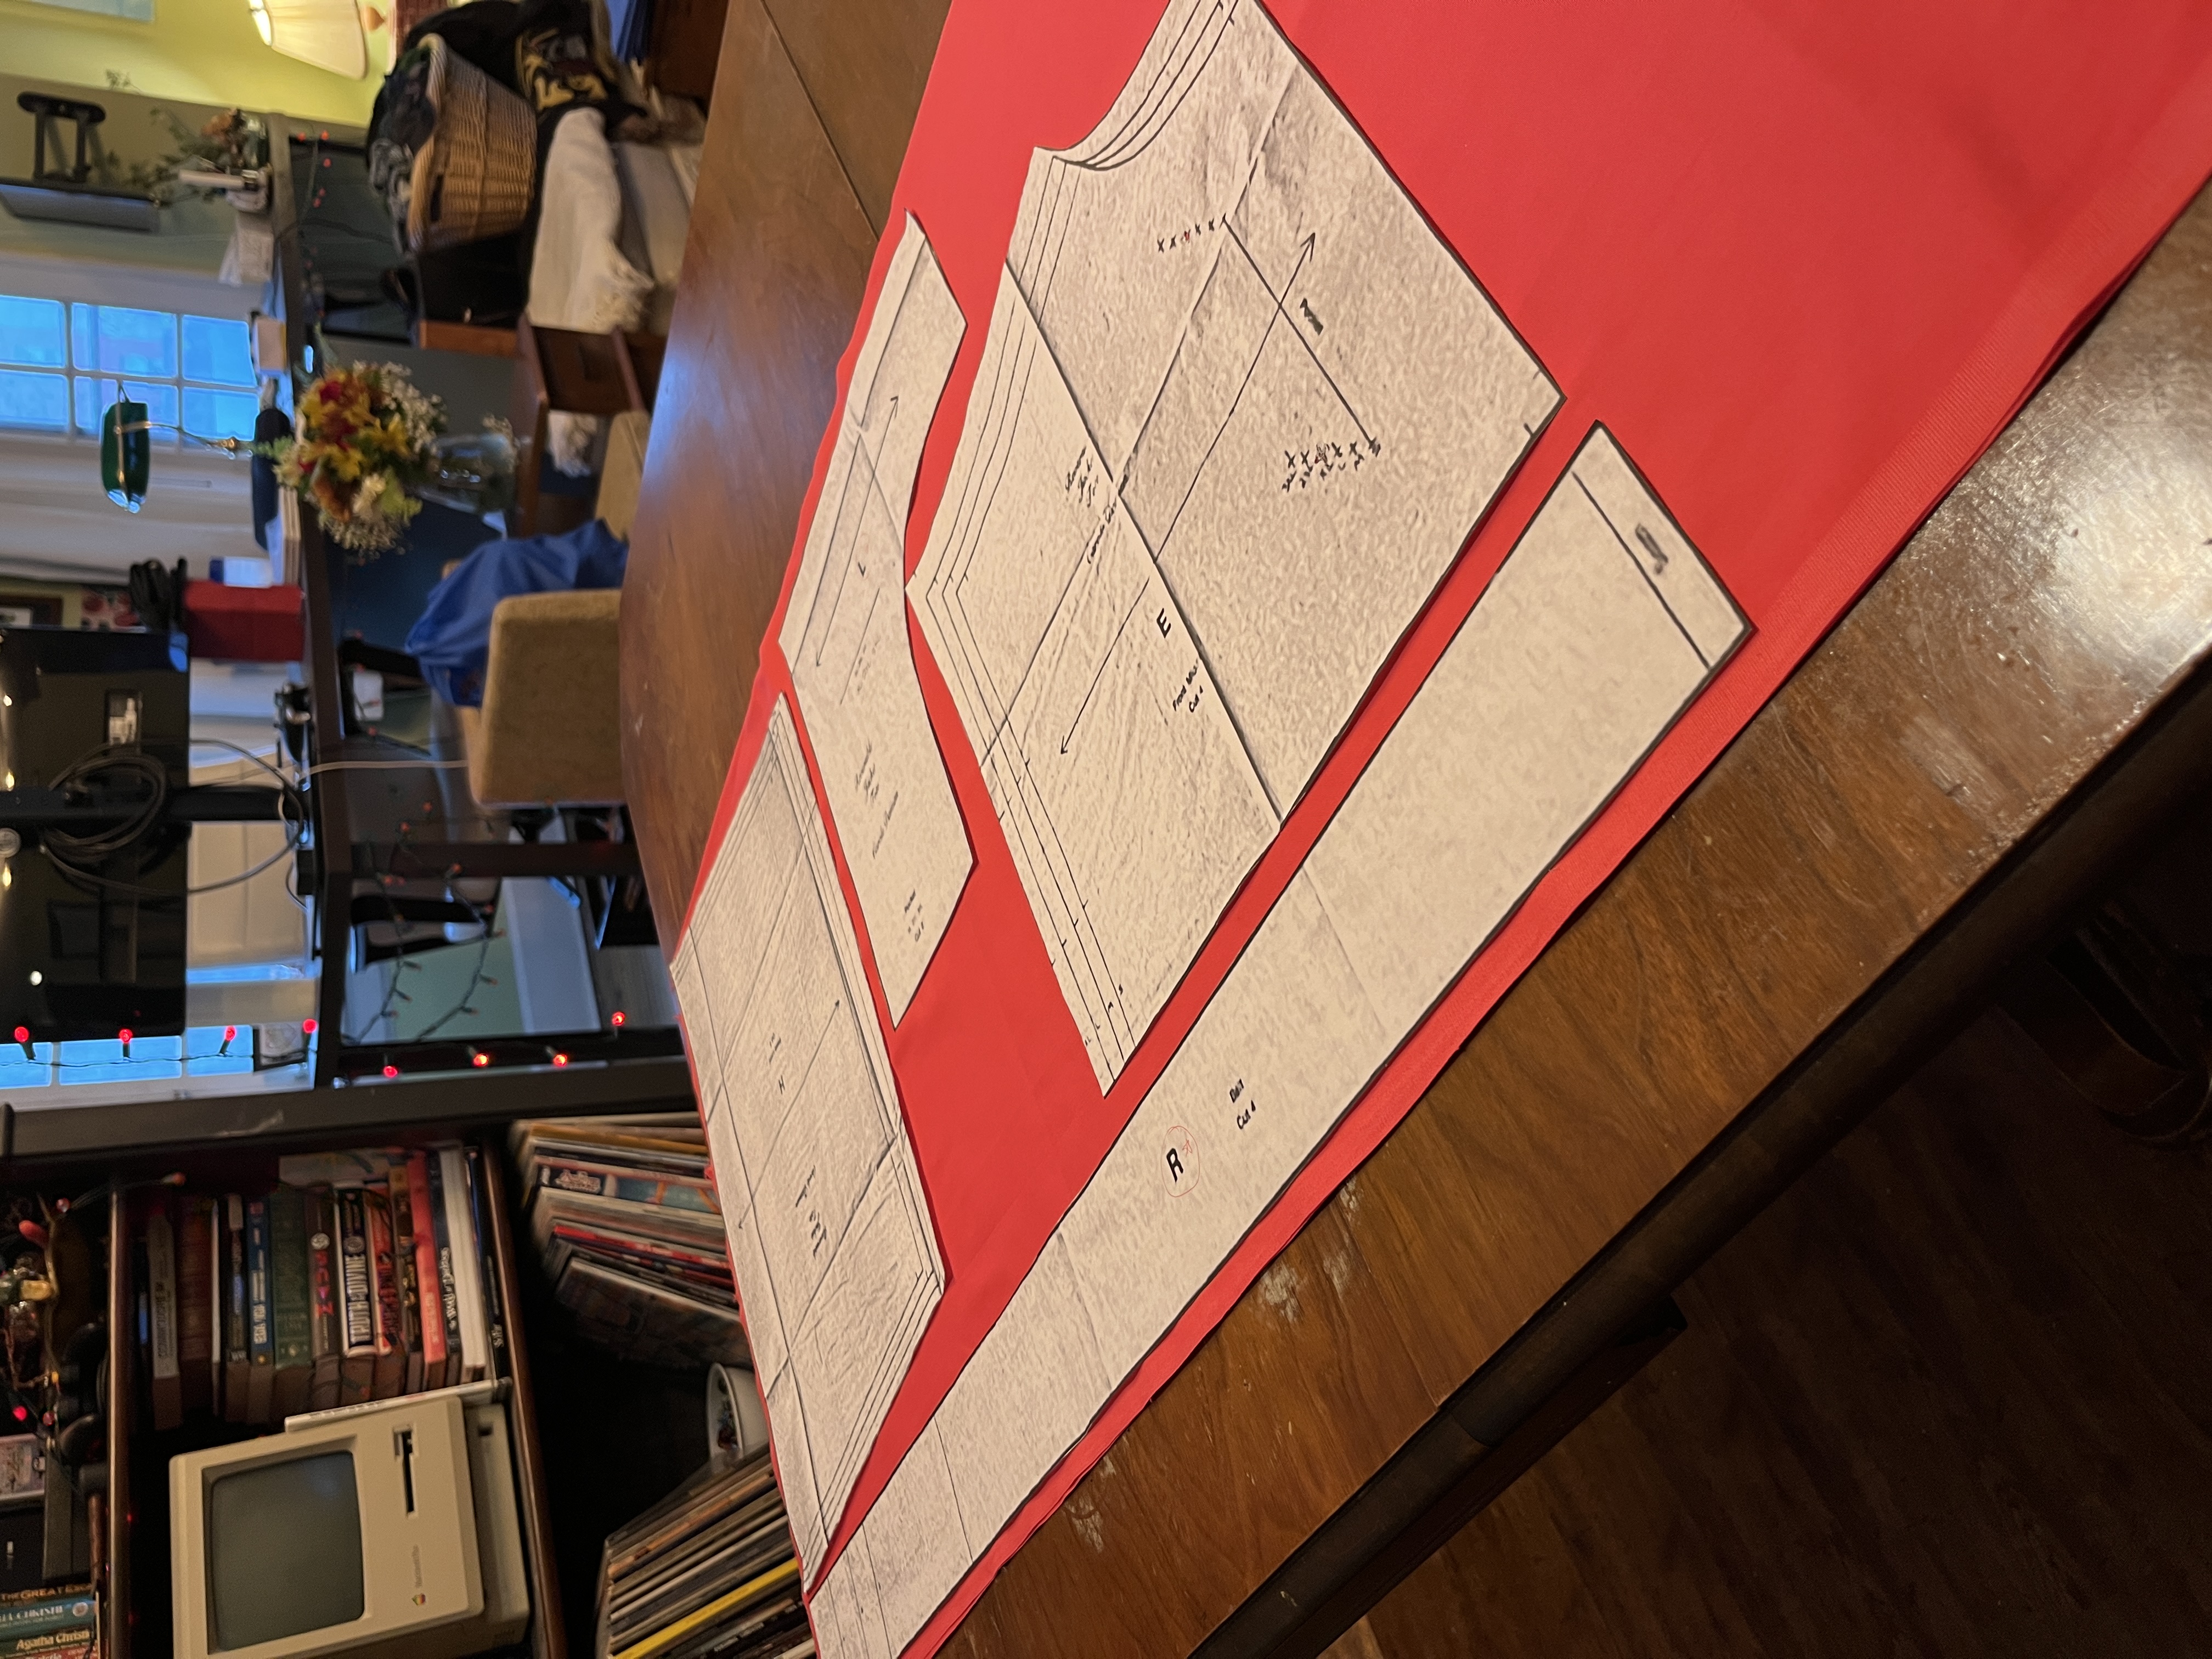
Eventually I had something I was more or less happy with, and had it printed on huge sheets of
architectural
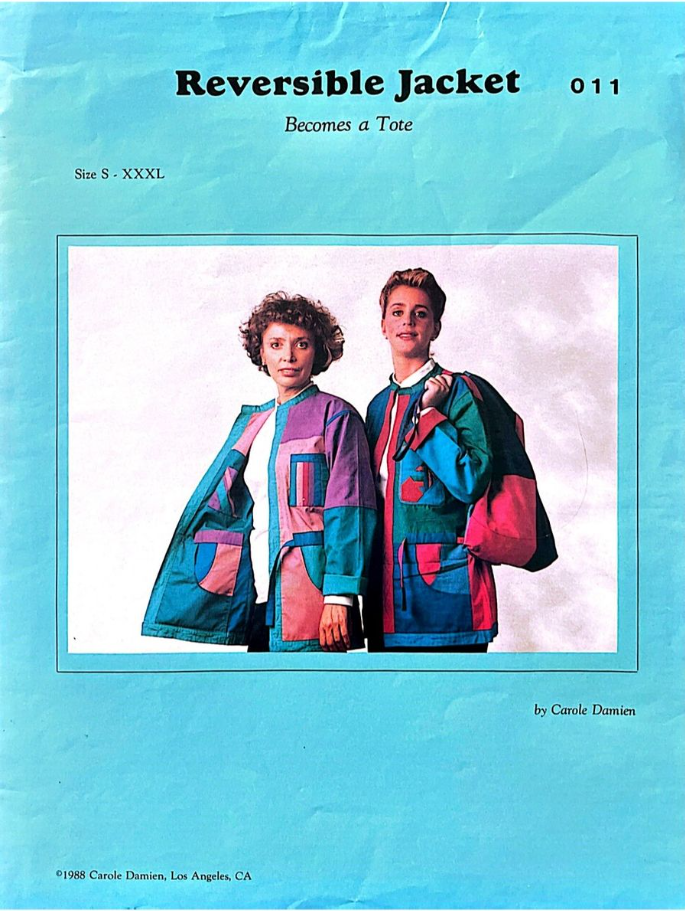
paper at Staples. I also went to the fabric store and chose some colours I liked - the pattern requires
six colours across the inside and outside sections. I chose seven so that I could have some options.
I went with cotton, which is a weird choice probably for a jacket. The lady at the fabric store was very
amused to see 80s styles coming back.

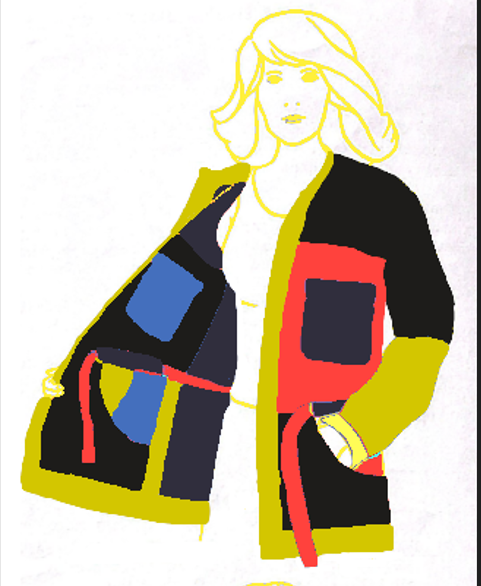
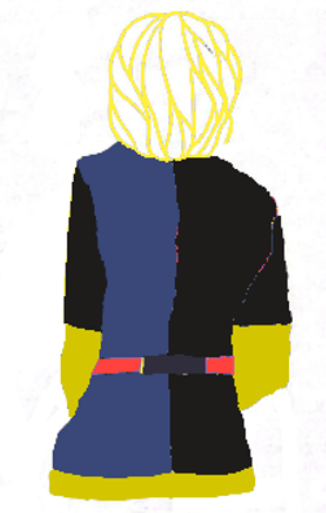
After much iteration in Gimp, I ended up choosing five colours instead of six, and divying up the pieces
from the sixth colour between them. I did not go with the lightest blue in the inside pocket. These jacket
model images are coloured in from the line drawing in the pattern book!
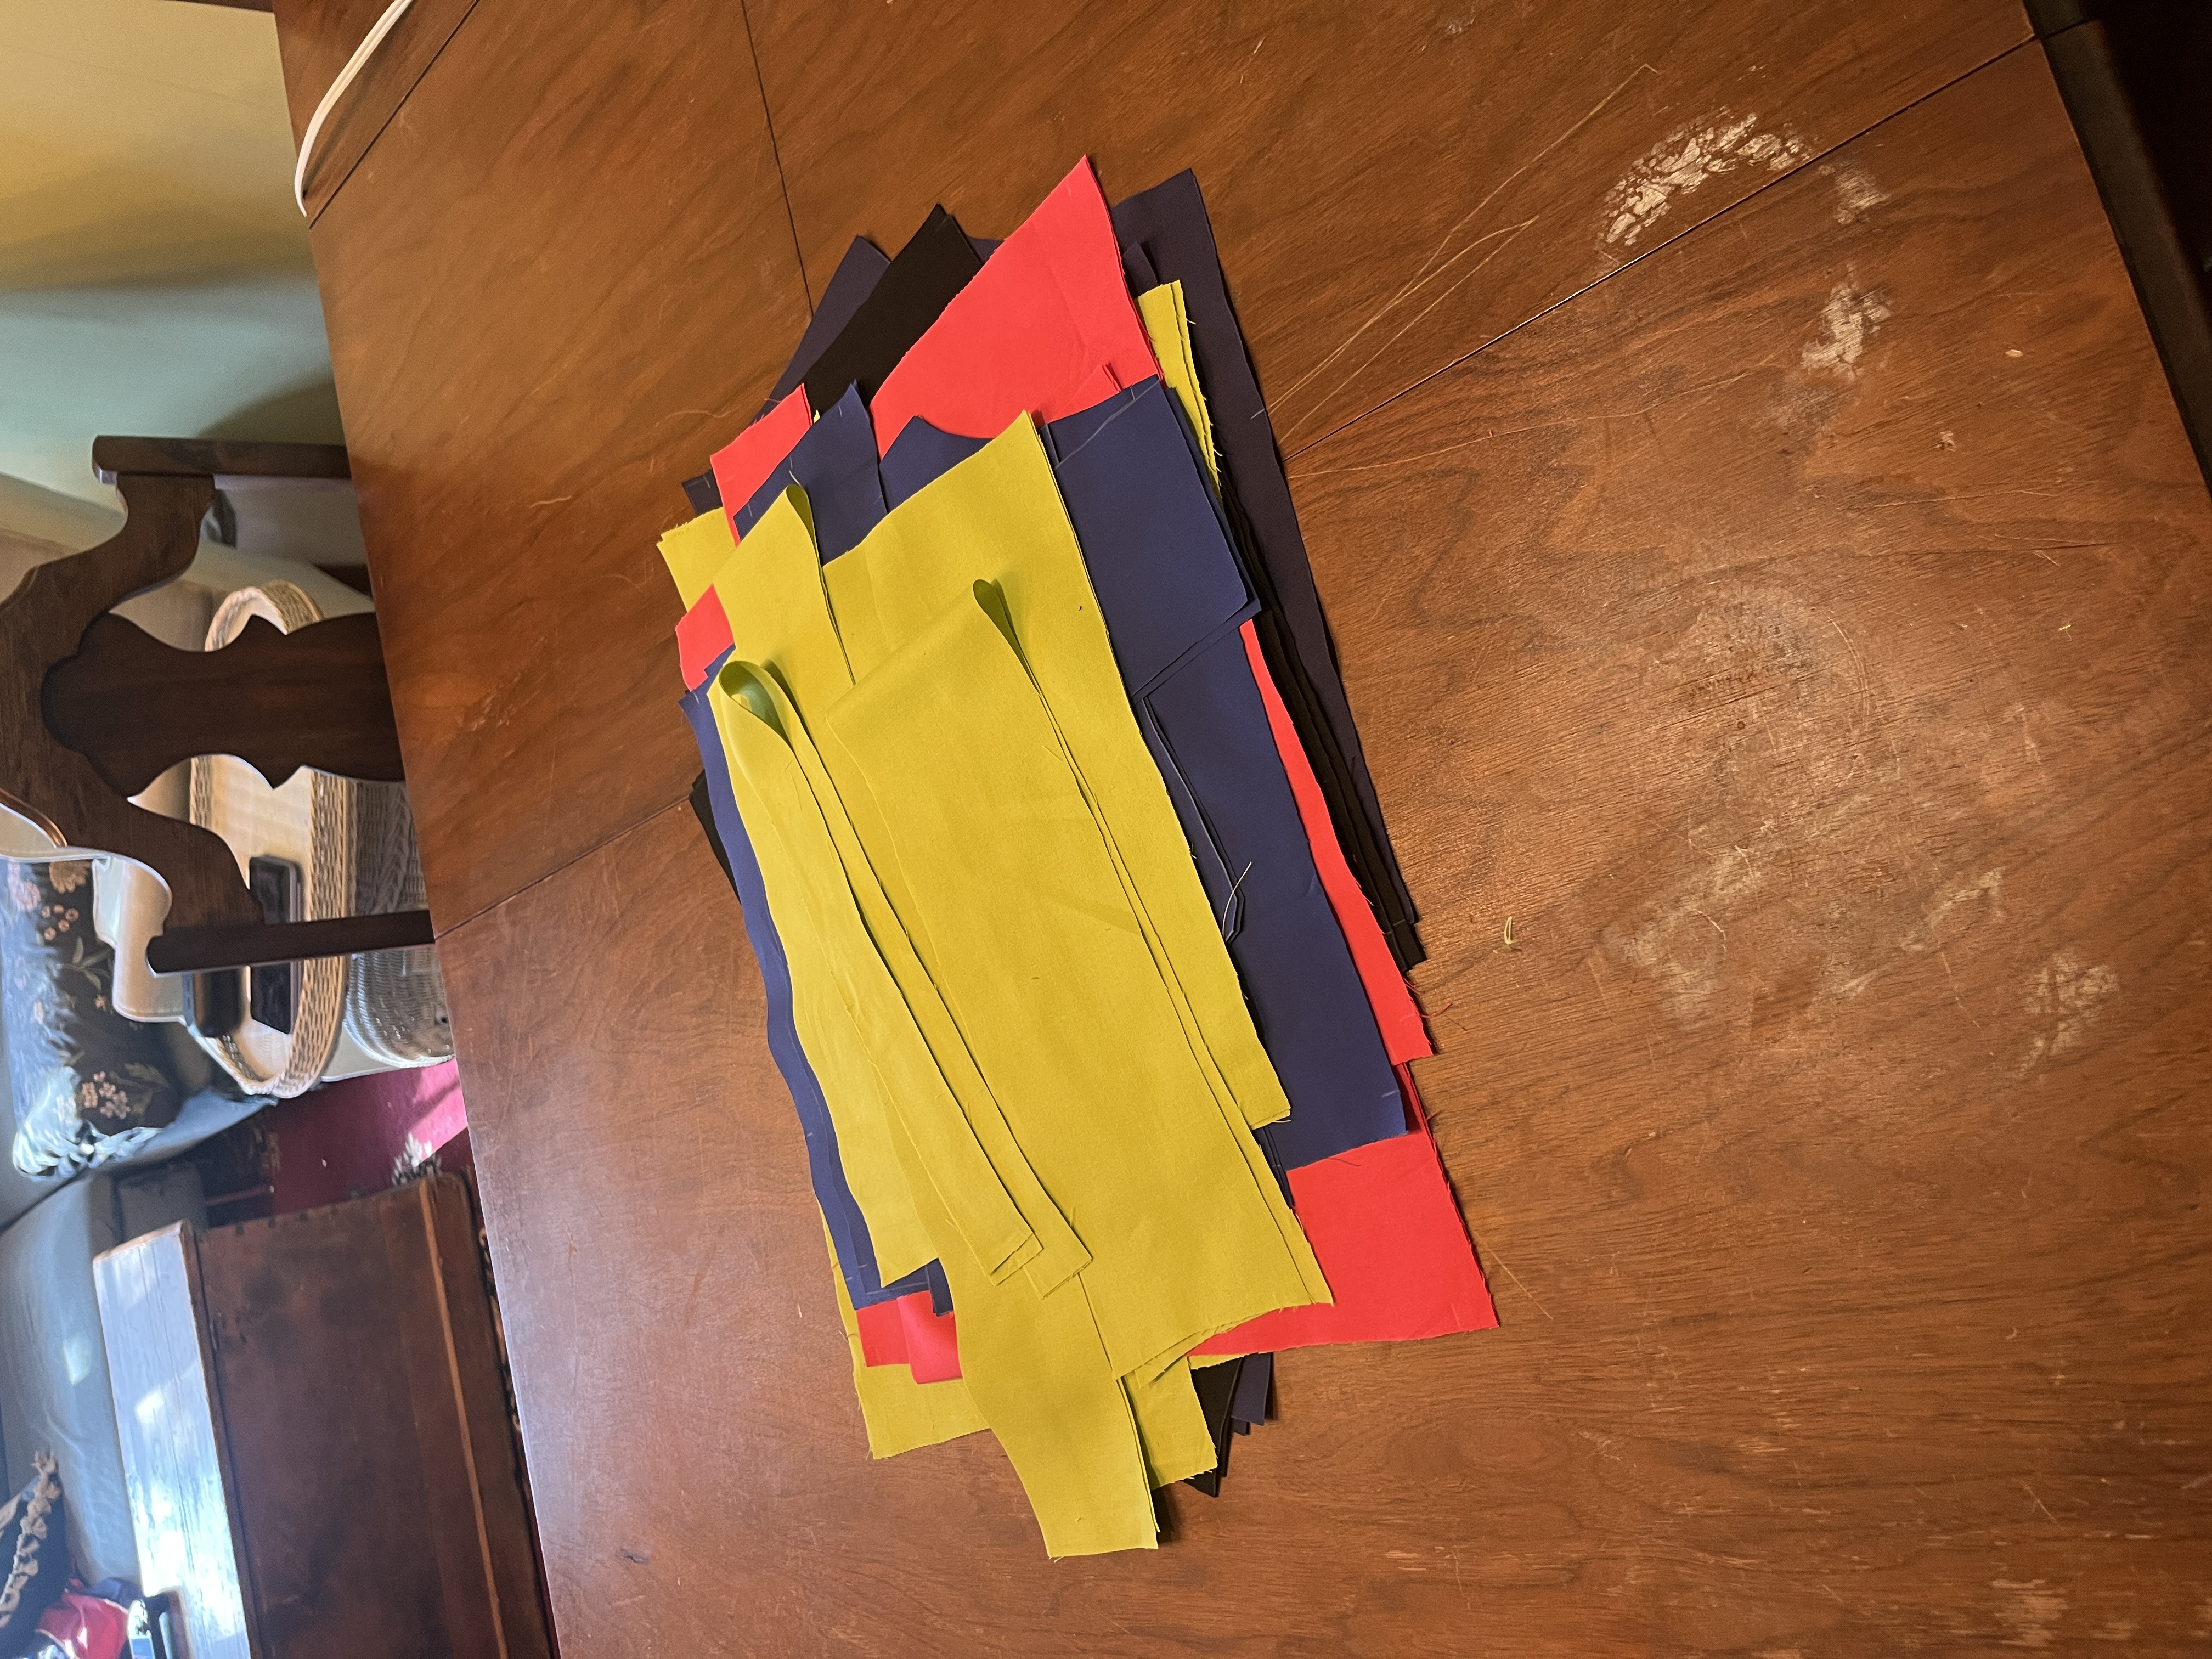
Cutting out the pattern
This took so very much longer than I thought, good gracious. I learned that the arrow on the pattern
pieces should be parallel to the selvedge edge. I .. think I did that. I hope I did. I think it impacts
how the fabric stretches. Some of the
cuts/colours needed to be folded crosswise and some lengthwise.
Starting to sew
Starting to sew pieces together. I was very nervous about everything fitting together, and also things
like whether seam allowance was included in the pattern pieces or whether I needed to add it outside of
the pattern pieces. I ended up not adding it, and this was the right call - seam allowance was already
incorporated into the pattern pieces.
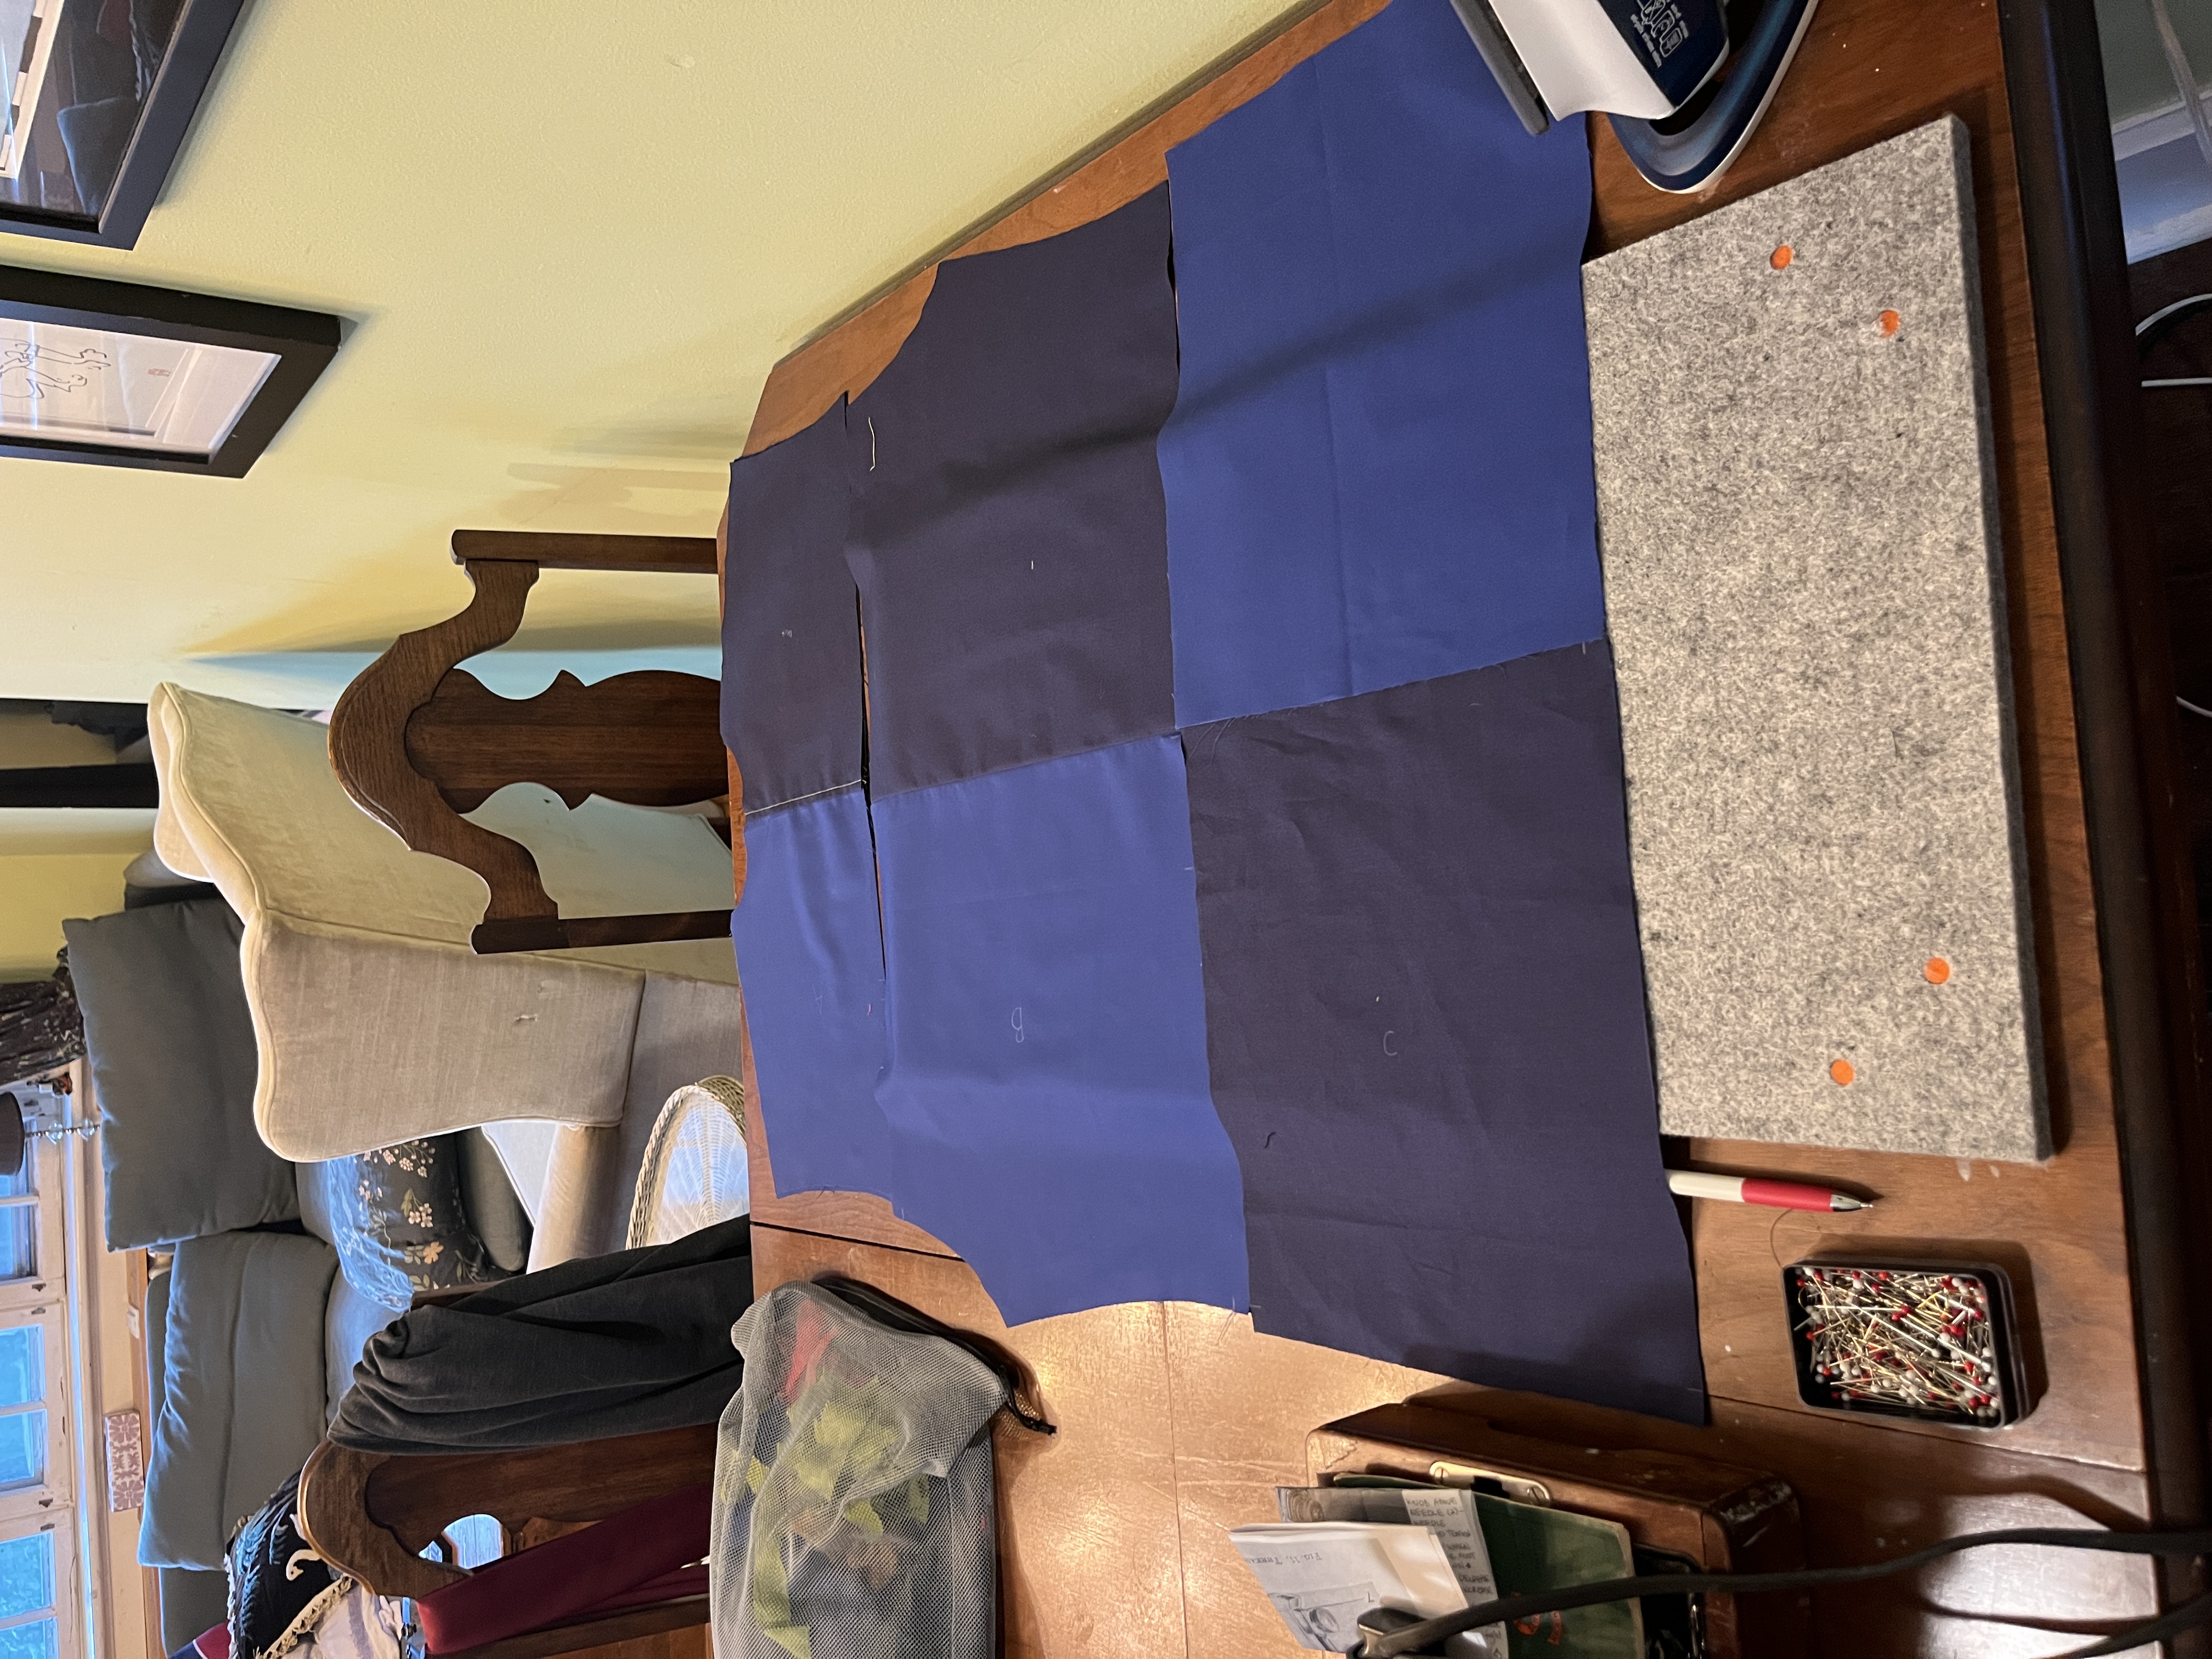
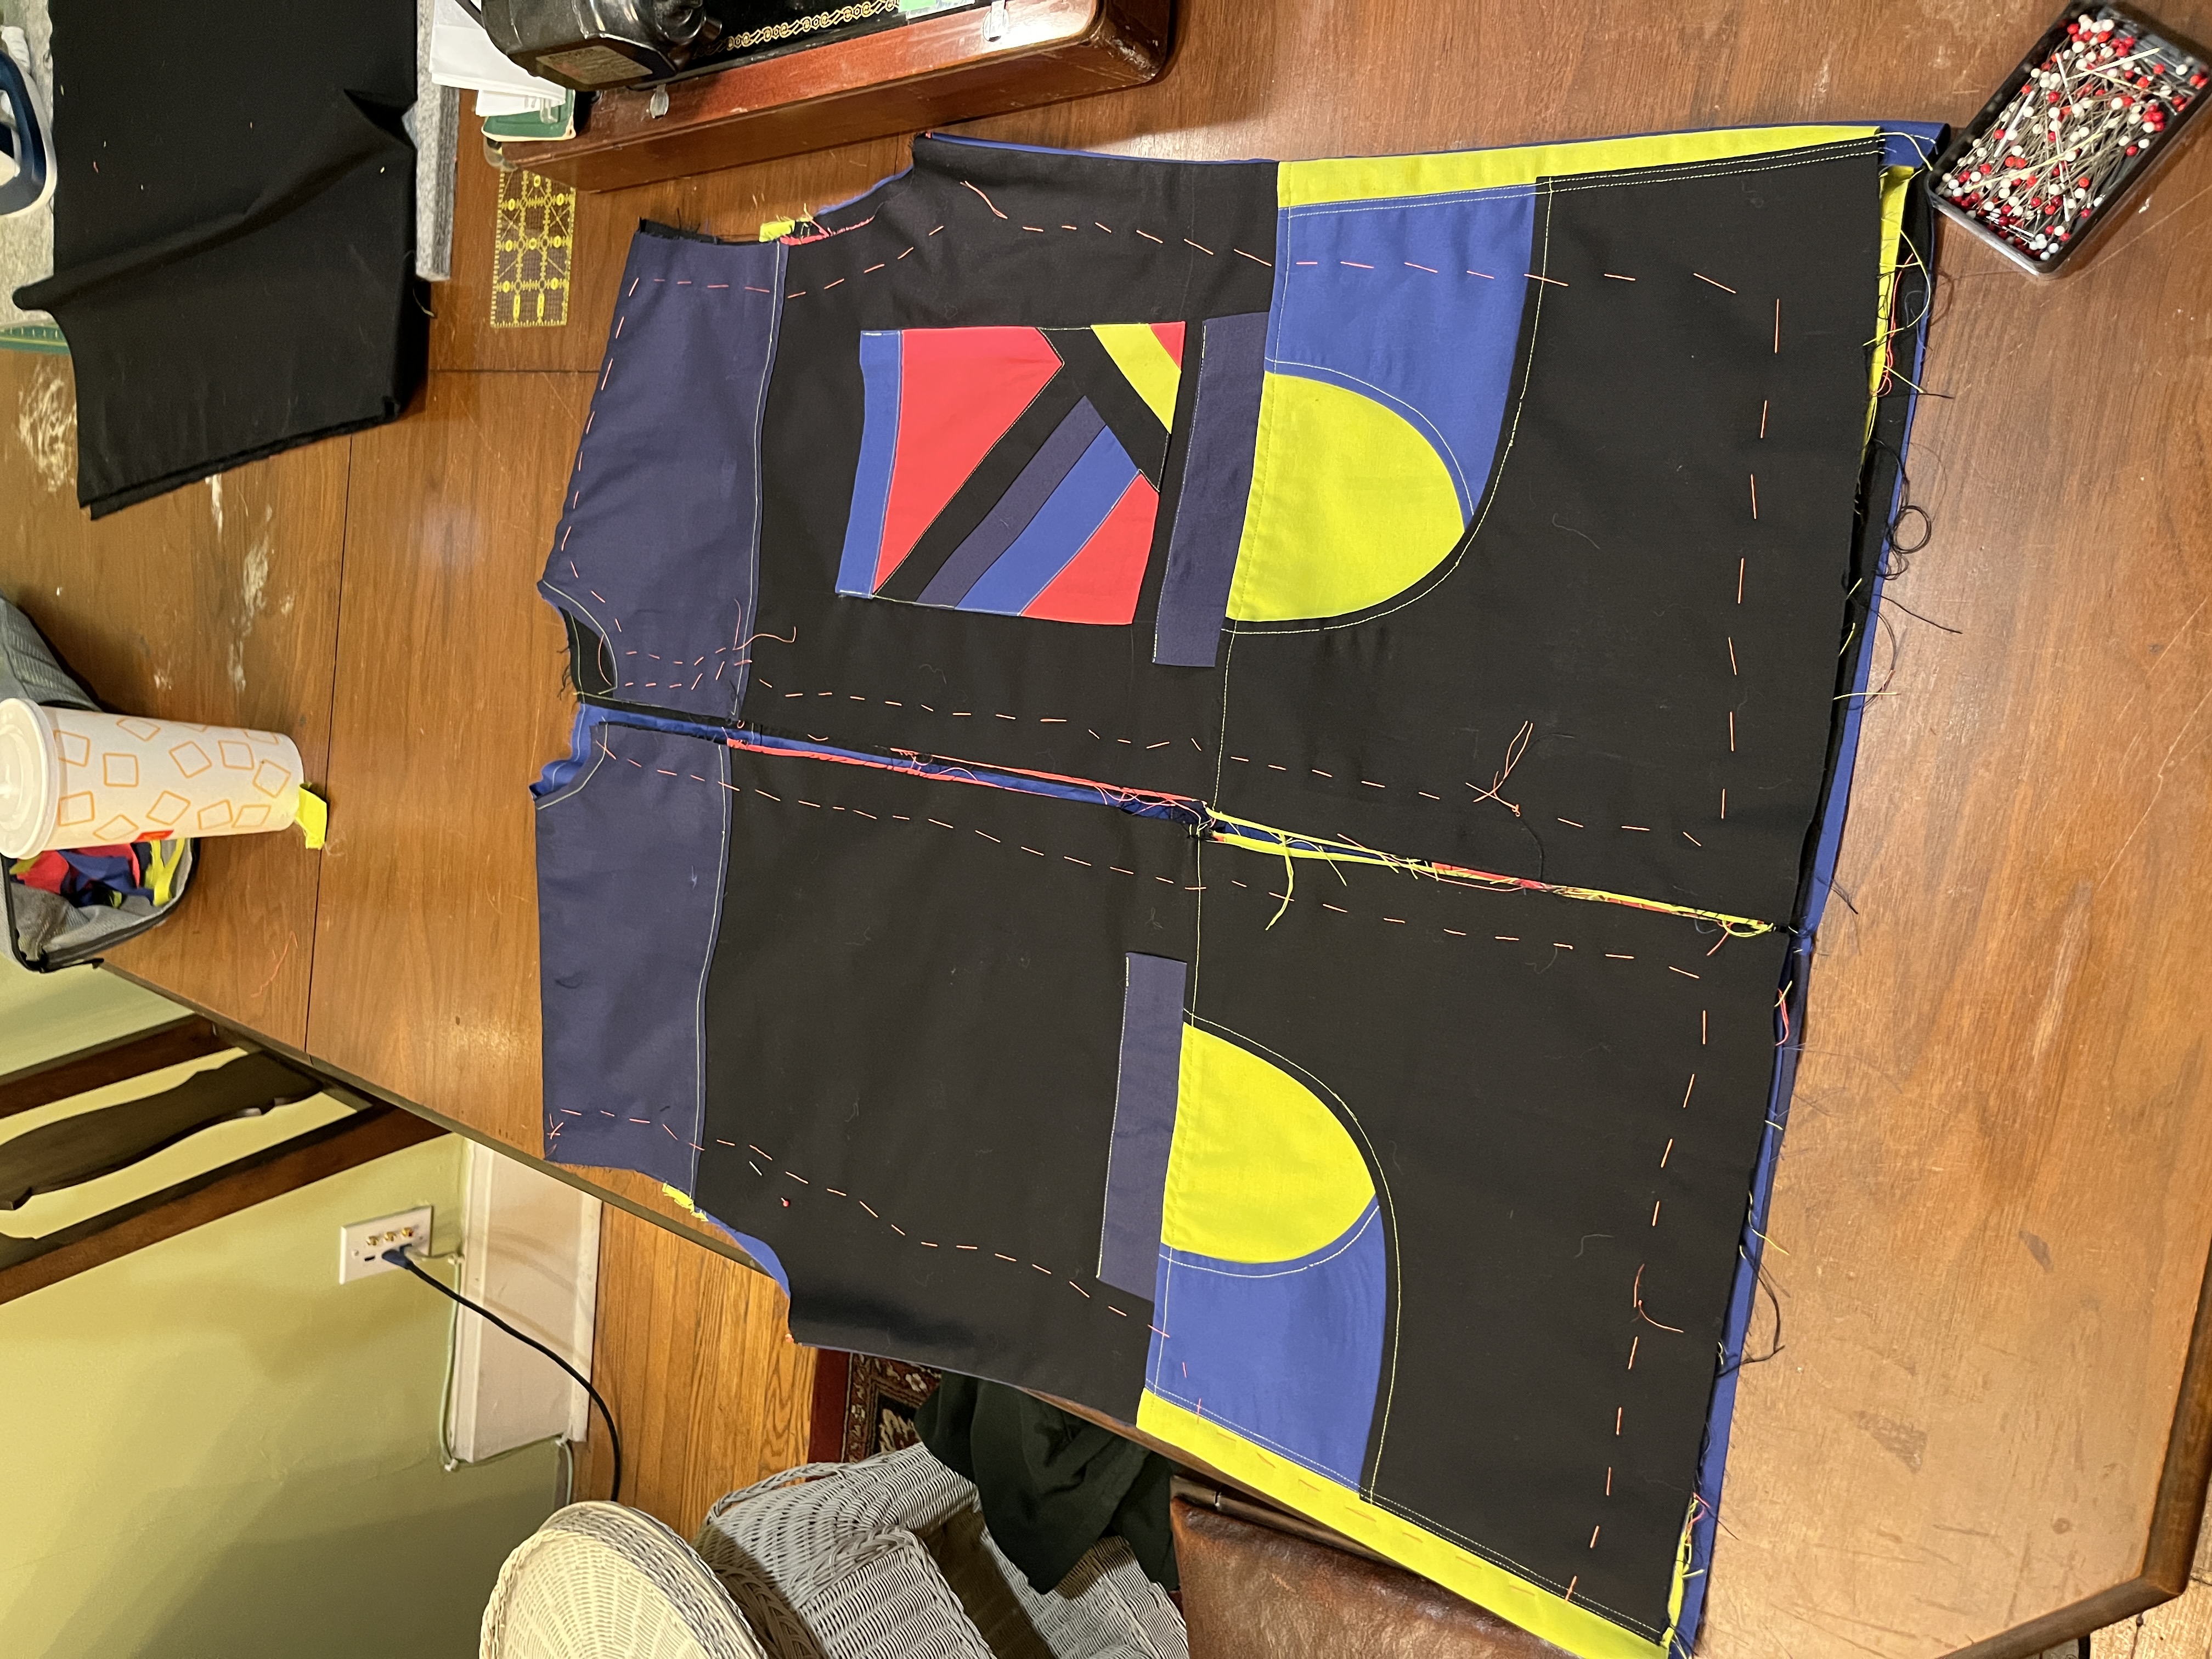
Also here it looks as if I was going to perhaps alternate the back panels, but I decided against this
and did half one colour, half the other.
I decided to use a contrast thread throughout, green to match my contrast colour pieces.
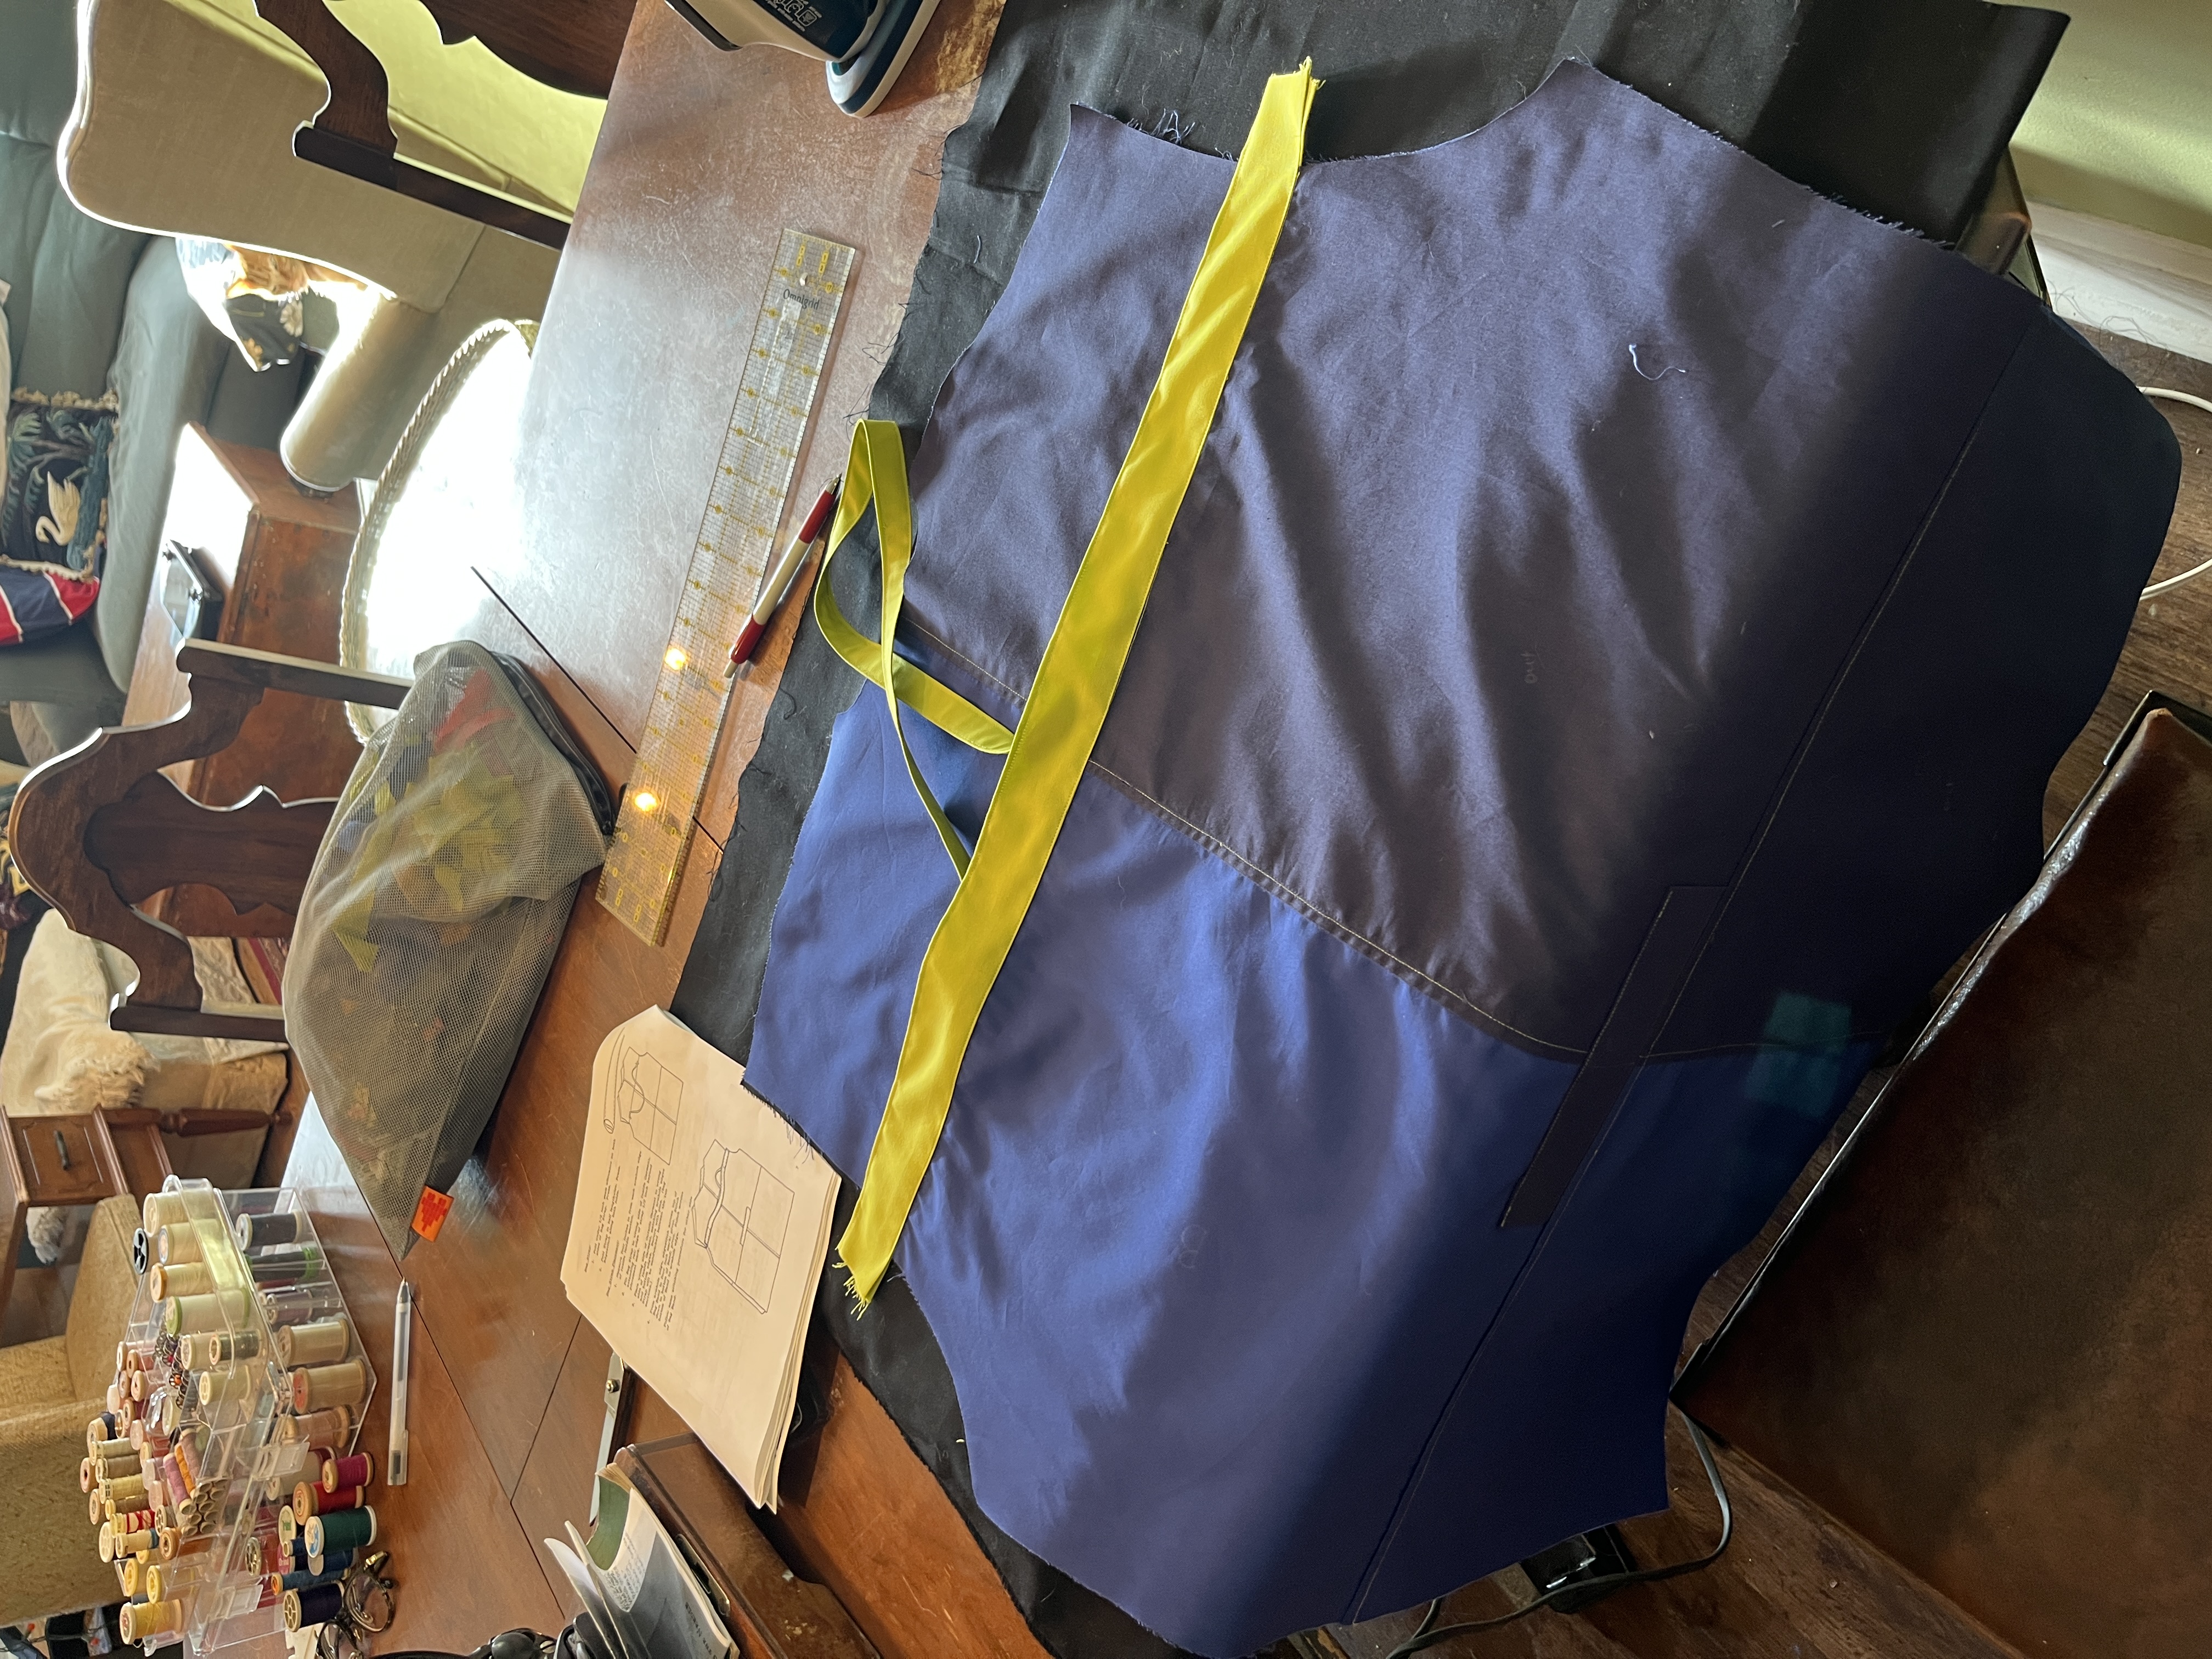
Here you can see the outer back assembled, along with the bag band (green). The thinner bag strap (also
green) is sandwitched
between the band and jacket. This is the only seam in the whole jacket that I ended up being really
unhappy with and wishing I could redo - N.B. that when you are attaching the bag band, this seam is going
to end up showing on the back of the inner garment. I pinned and sewed it carefully but it still ended up
looking really not very clean at all on the back, which was disappointing. I do not have the skill to tell
you how to make this end up looking straight on both sides (the problem is it's adjacent to other seams
which will actually be quite straight, so it looks very clearly not straight in comparison). If I had to
redo this I think I would just choose a bobbin thread that matched the colour of the fabric on the inner
garmnet back piece so it was less obvious, instead of my contrast thread.
Pockets!
Lower pockets
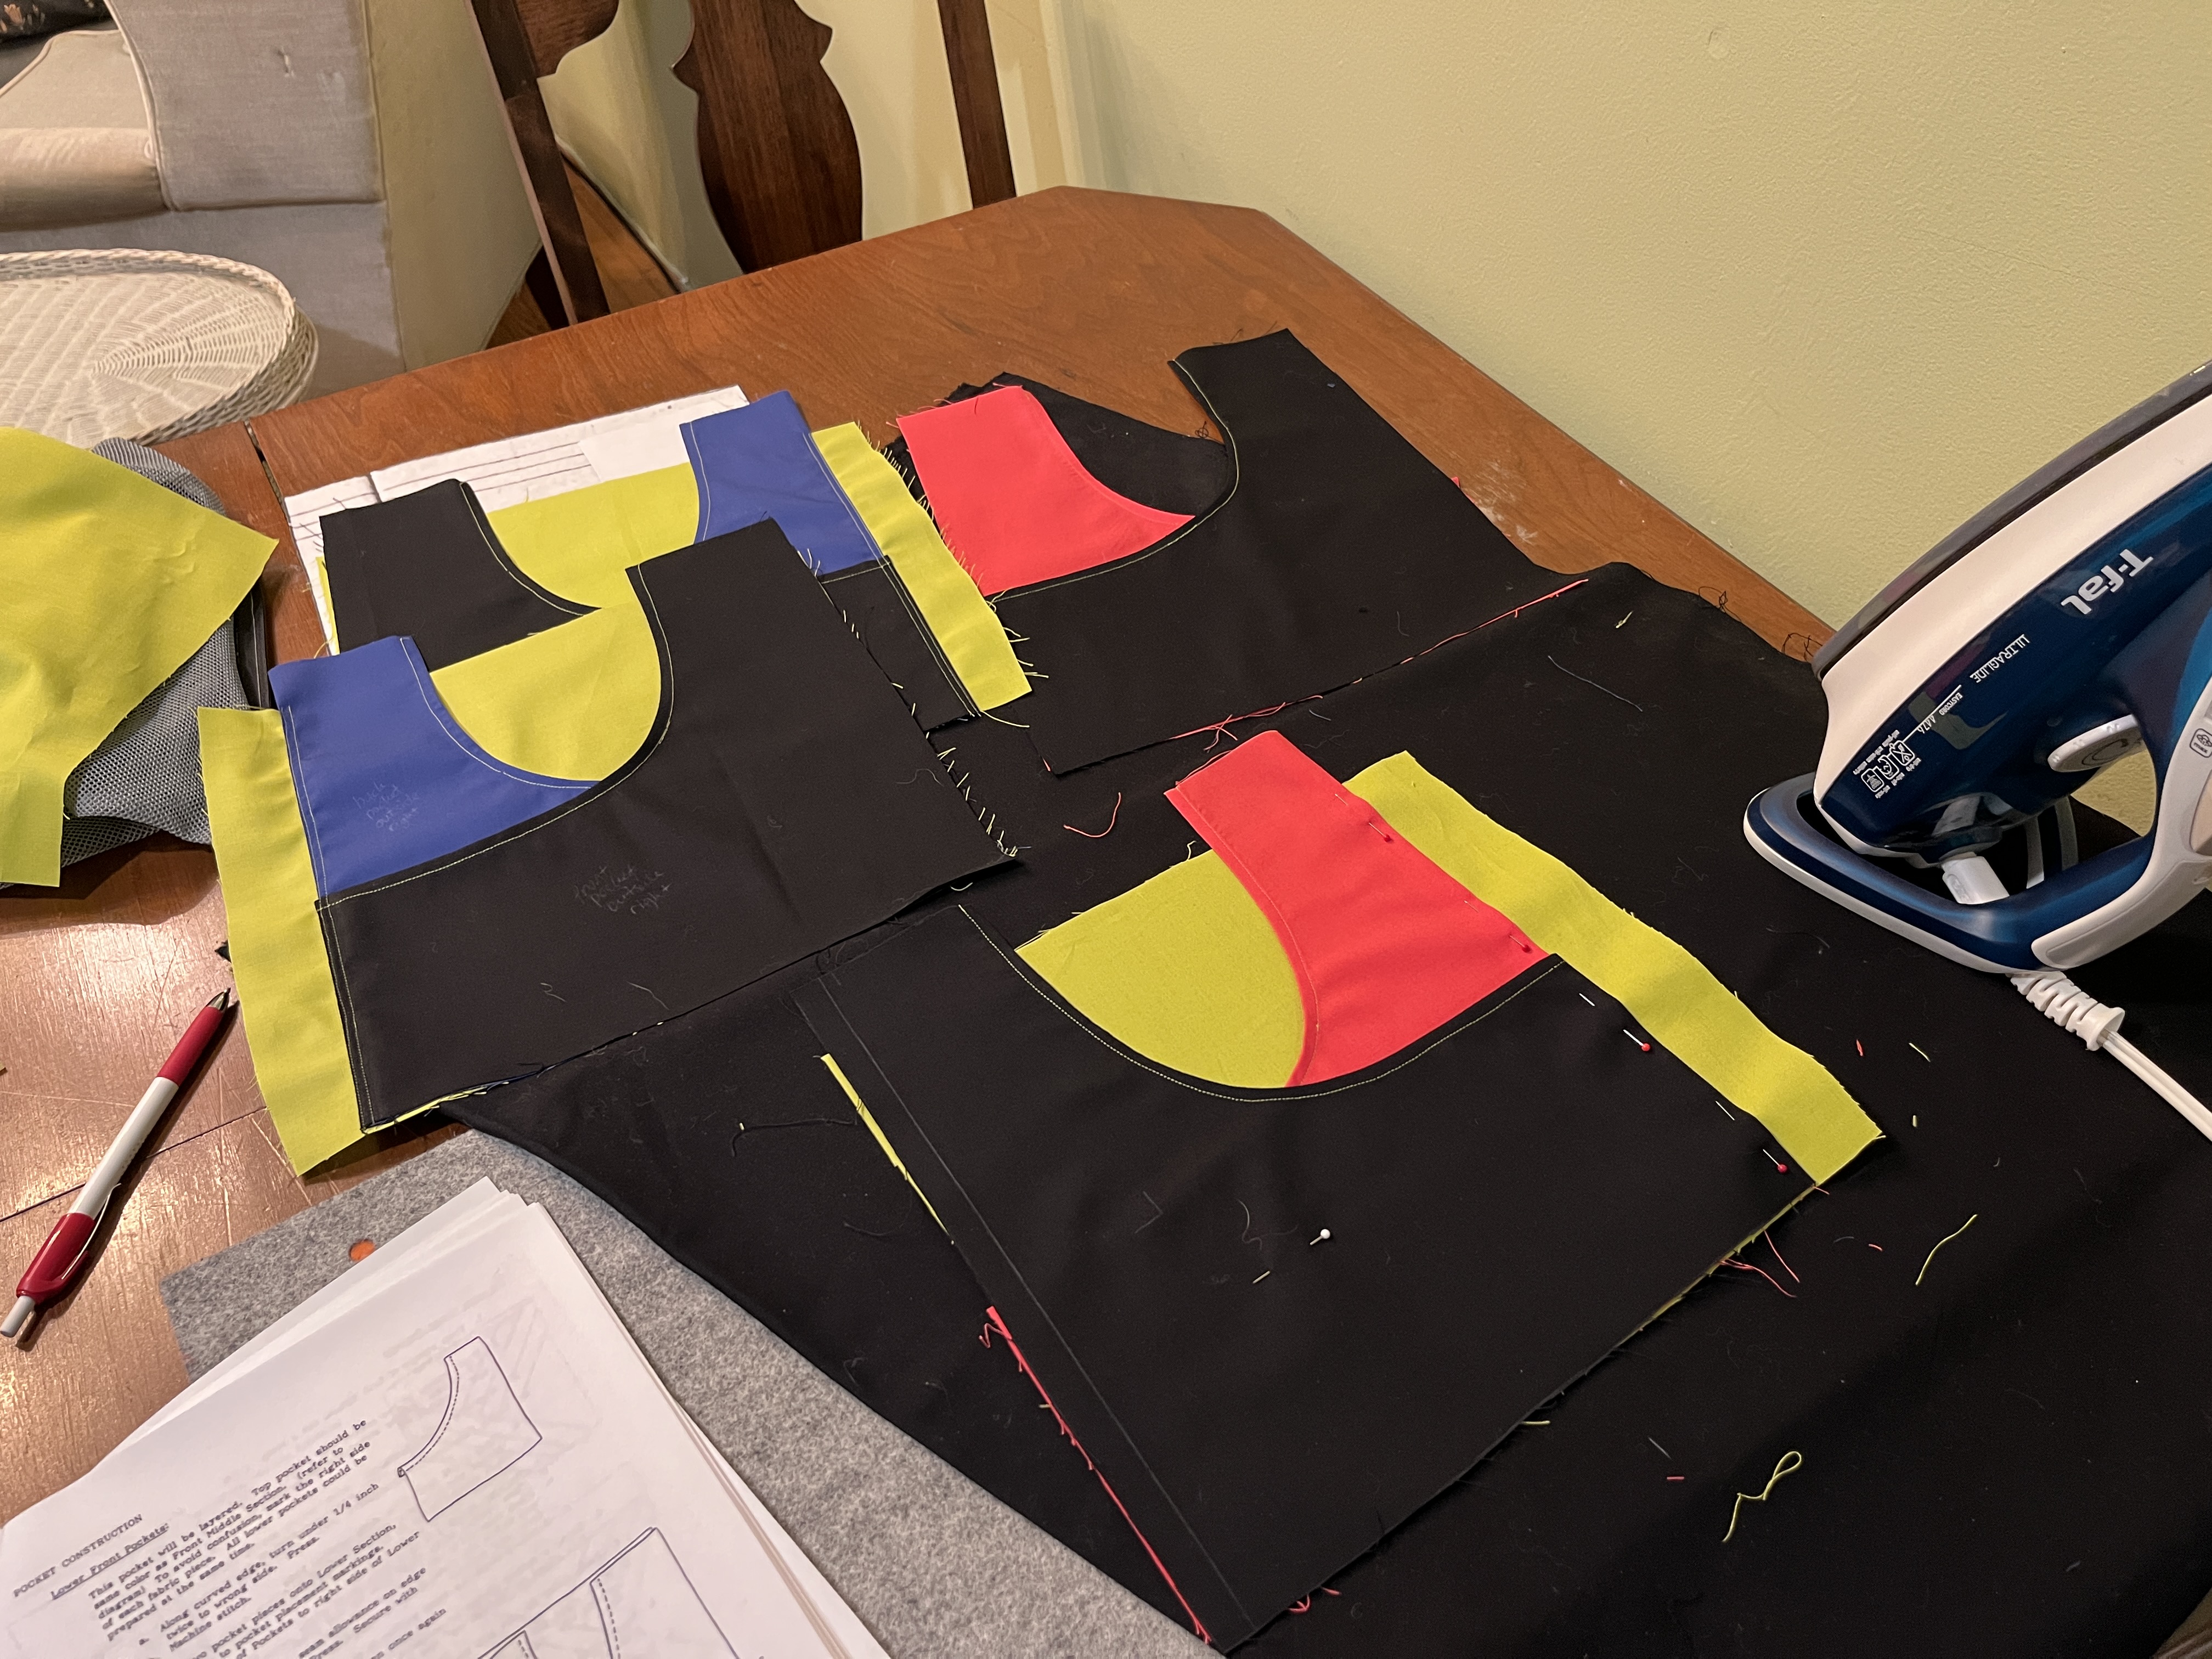
Assembling the lower pockets.
Important note
- it was tricky to read in the scanned
pattern, but there are actually two differently sized 'L' pieces. I had initially thought that both were
needed to form the inner and outer parts of the lower pockets, but in trying to piece them together,
concluded that couldn't be it. It appears that there are two different L pieces, one corresponding to
sizes S-M-L and the other to sizes XL-XXL-XXXL - choose only the version for the size you're making, and
you won't use the other. All 8 pieces of varying colours will be cut from the same L pattern piece.
Also be careful you're lining these up to the proper side of F such that the strip that peeks through
from
the back (here, green) is on different sides on each of the two paired pockets for inside, and for
outside. You can see in the two completed black / blue pockets here that they're mirrored.
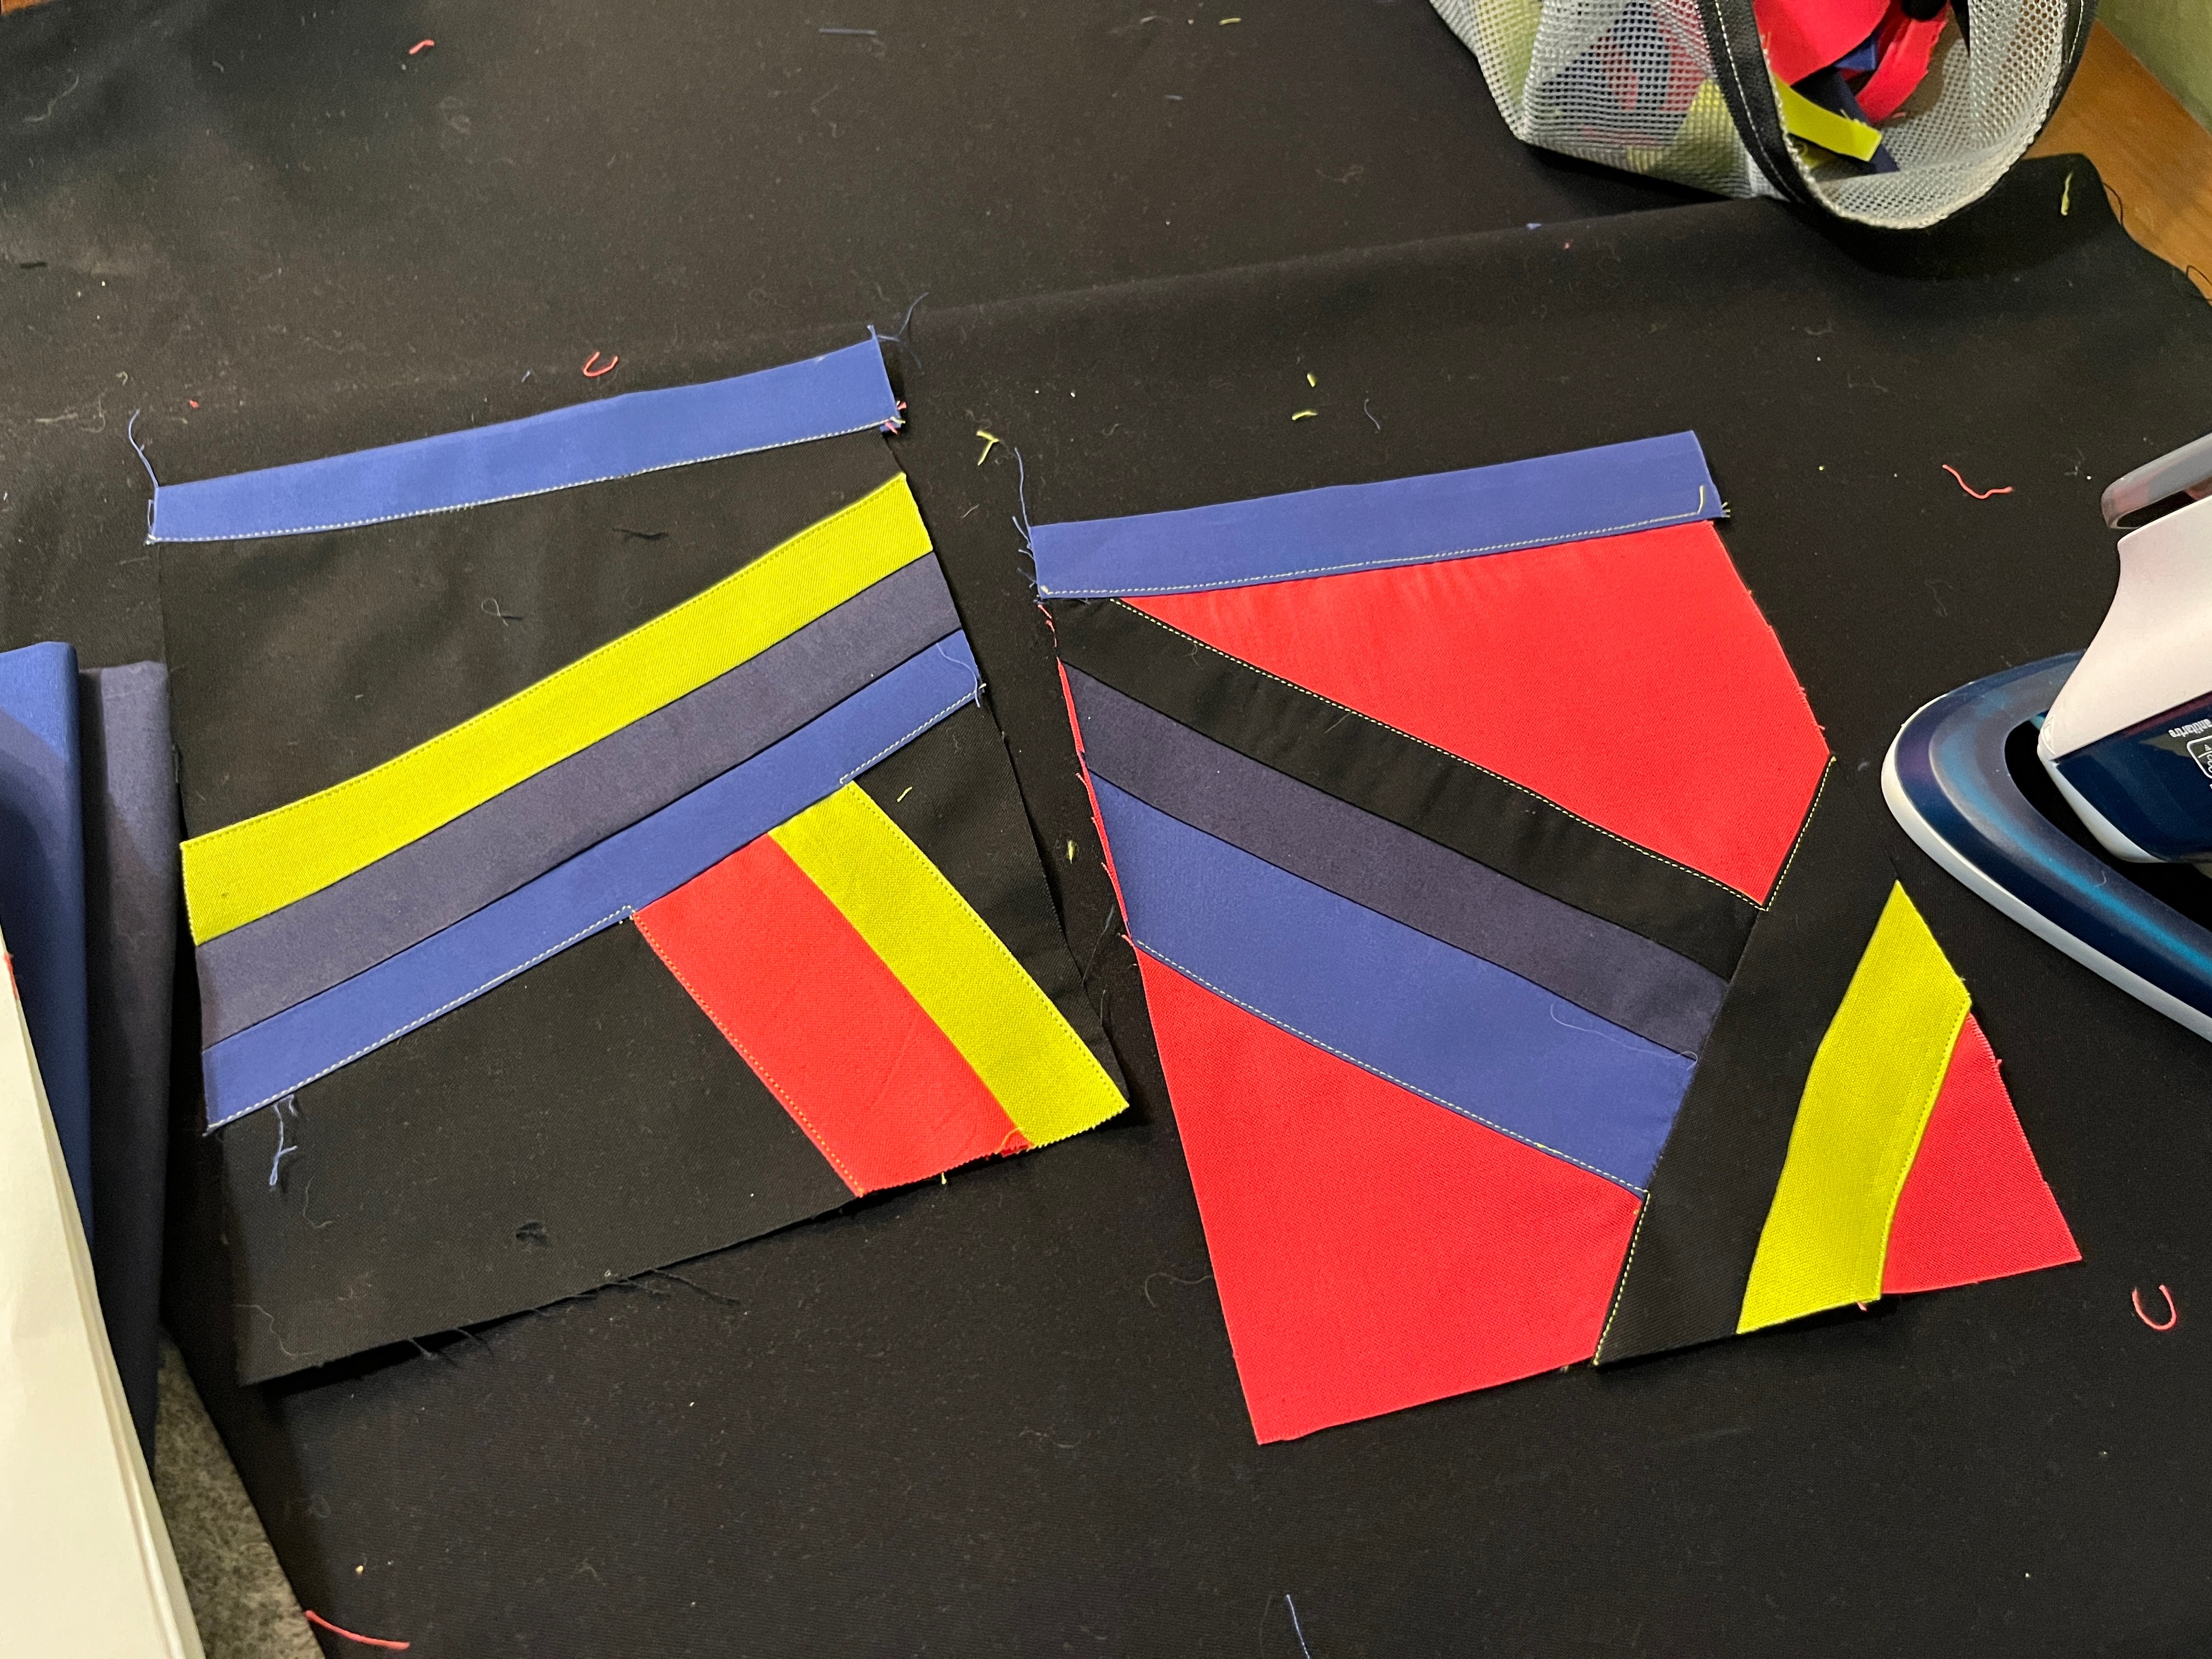
Upper pockets
Piecing together the upper pockets was more fun than I thought. I cut out a bunch of strips of varied
colours and widths and laid them out until I was more or less happy with them. One pocket was to go on a
black section, and one on a pink, so I inverted the colours of the base pockets to match. I did not cut
out anything for the upper pockets until this point, since I wanted to see how the colours from the rest
of the jacket balanced and decide once I got here what to do.
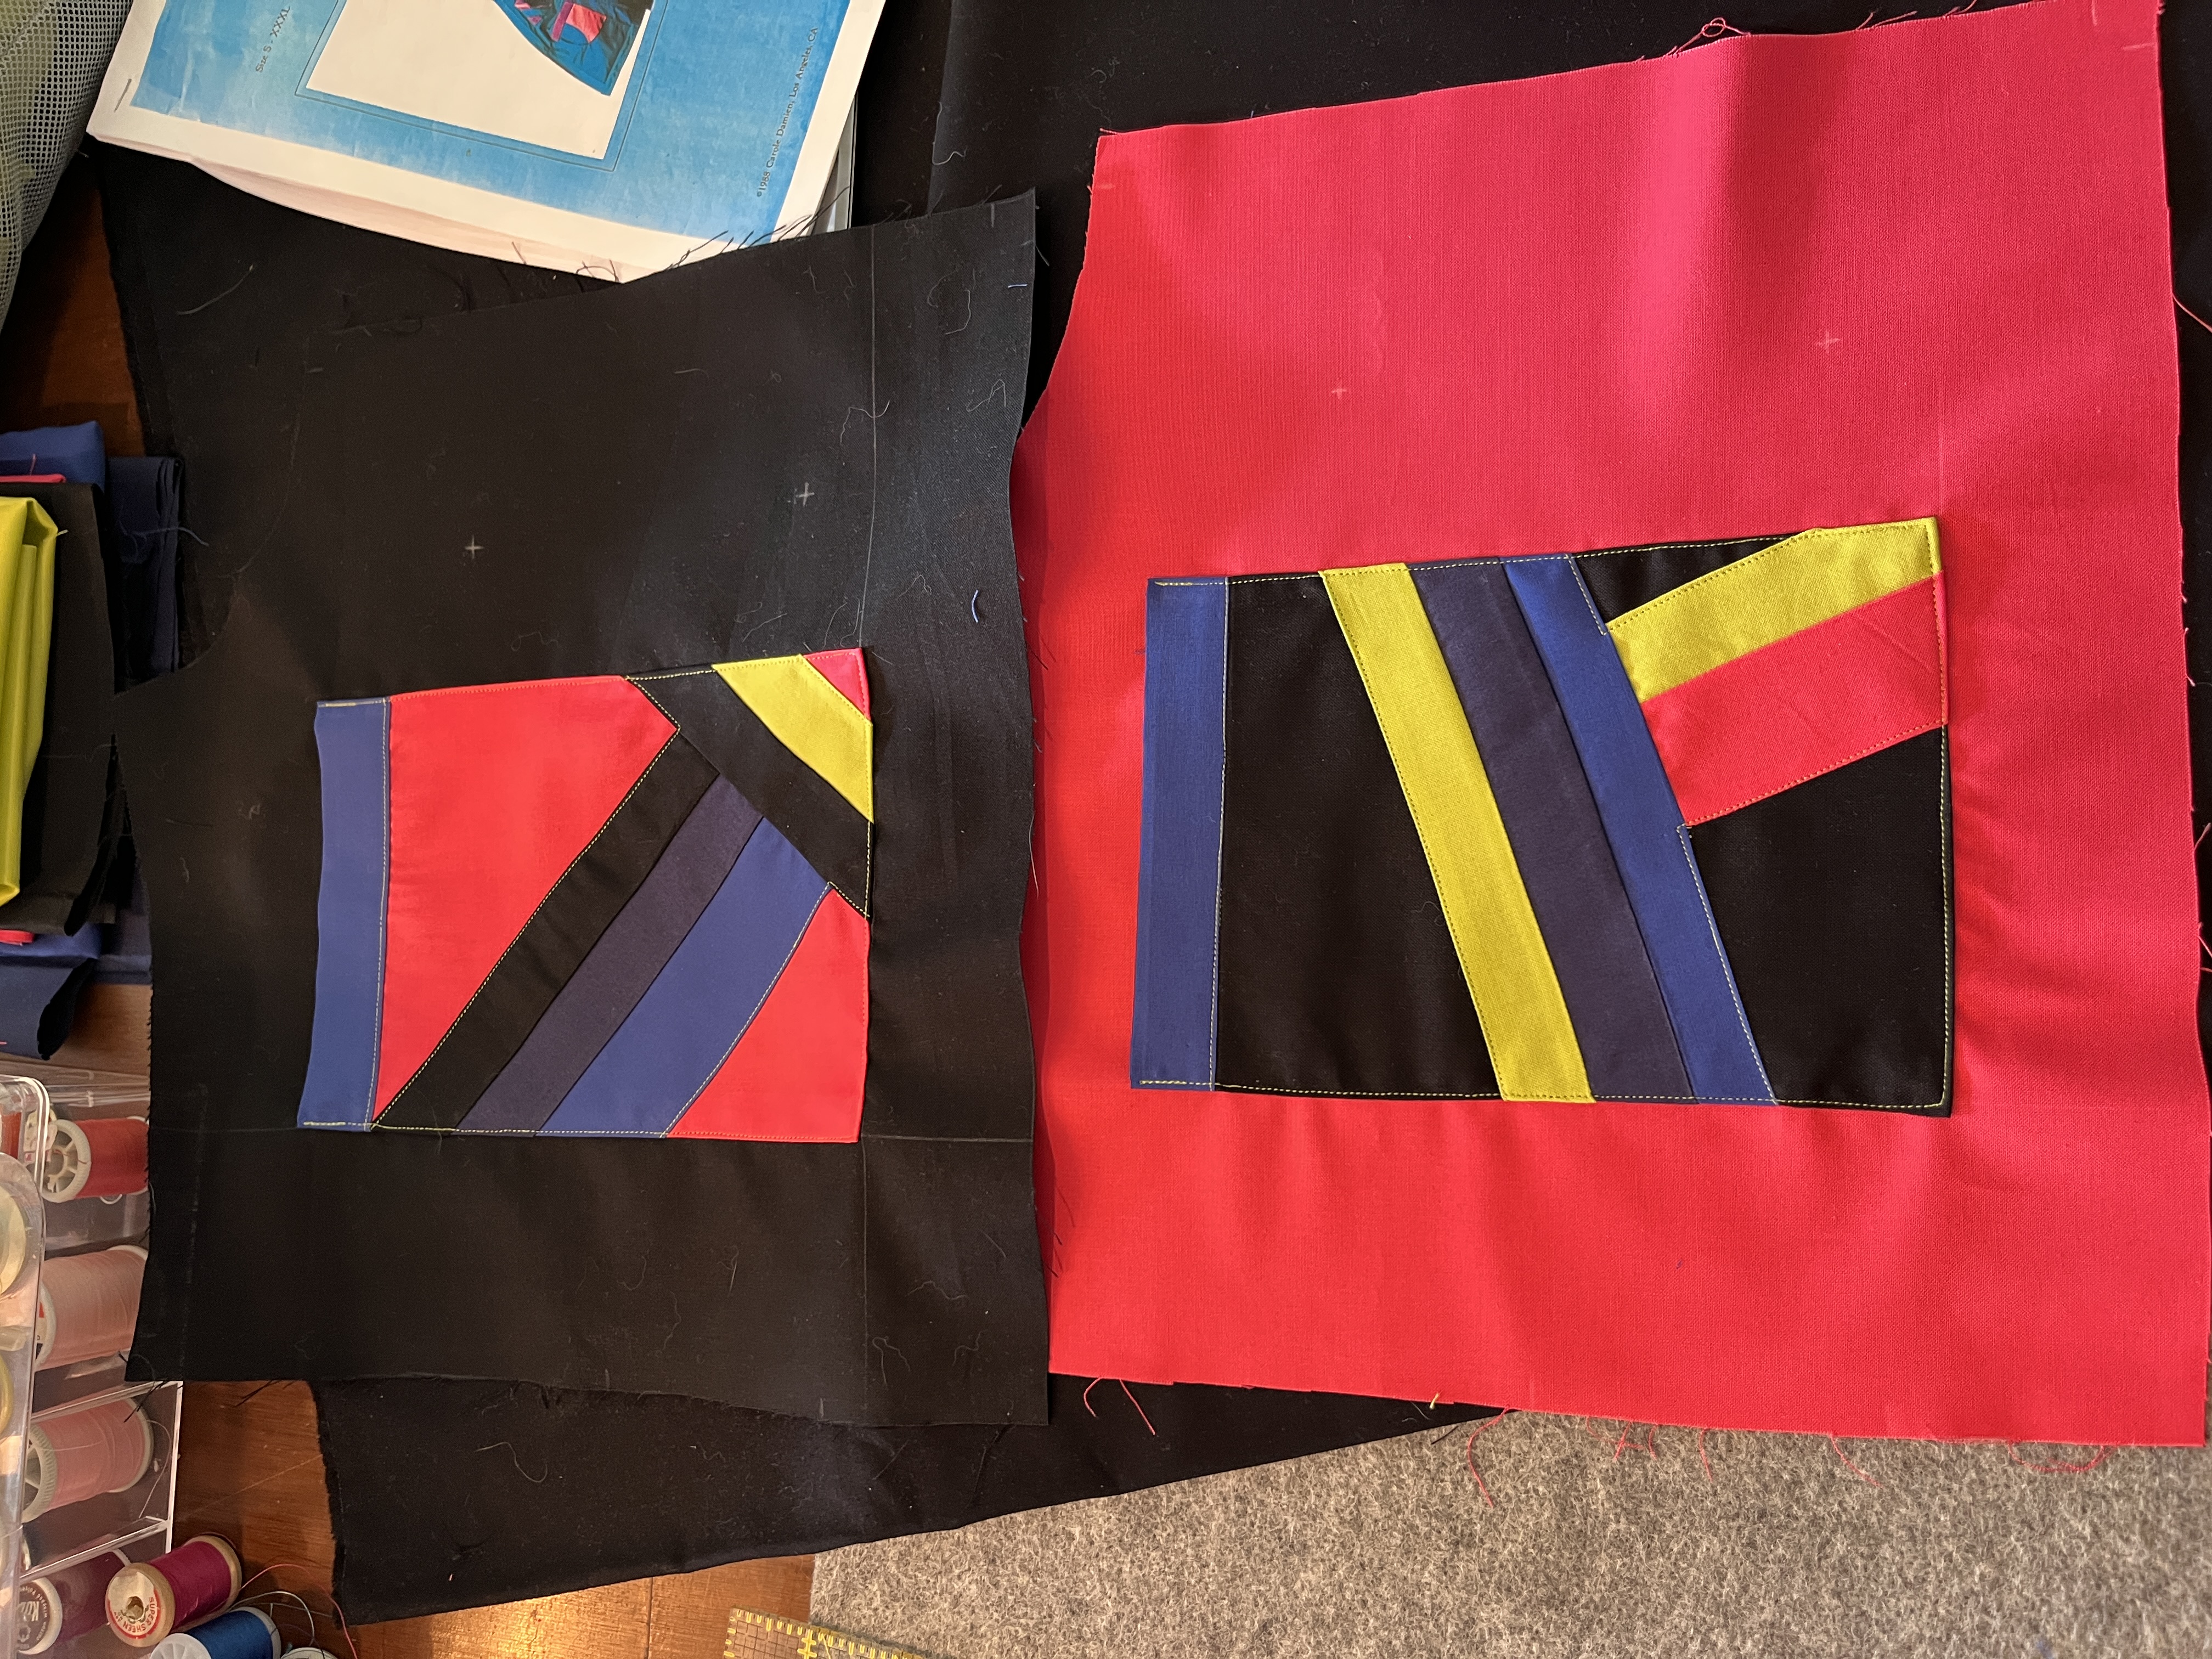
I really messed up here unfortunately - I had such a nice clean edge seam to affix the pockets to pattern
piece E, but when I moved on to the next step (connecting E to D and to the lower pockets made in the
previous step), I realized I must have messed up because the connecting edges were all different lengths.
It was here that I discovered that I had sewn the pockets on sideways. You can actually see my clearly
marked little '+' signs that mark out where the top of the pocket should sit in the photo on the right
here ... woops. I ripped out my seams and got them attached on alright. This is probably very obvious to
experienced pattern makers, but I'd recommend laying out these pieces to make sure you've got everything
oriented correctly prior to sewing anything together.
The final stretch
Attaching the arms, banding, binding, and bringing everything together. I neglected to take pictures for
assembling the arms in this step, but
important note
- when sewing the arms together, I had
to really cut down the length of the cuffs (pattern piece I) before attaching them. This is probably just
due to the fact
that
the third pattern page was scaled differently to the other two and I messed up the scaling slightly, but
they were really quite long and would not have worked had I not cut them down to match the width of the
arms.
It's really starting to look like a jacket now! Here the front is all assembled and basted. I've got the
little belt holders attached, too. There is so much fabric at this point, and it's rather heavy. I can't
recommend enough basting it to hold all of these layers together while you're working on it.
Attaching the front band (M). The bands were very pleasing to sew because they were nice straight seams.

The completed jacket
I didn't take very many pictures in the final stretch, probably because of how many treacherous curved seams
there were. Attaching the arms to the body of the jacket took a very long time, not just in execution, but
in understanding what the heck the instructions were trying to tell me about which layers I was sewing
together. Here is where I was really questioning my decision to make this garment that had so many layers
and faces, but I worked it out eventually. If you're reading this and are trying to figure out how to pin
this seam, you want to have both the body of the jacket and the arm you're trying to attach in 'outer
garment' mode - i.e. what it would look like if you were wearing the outer garment - and you are pinning the
right side of the inner garment body to the right side of the inner garment arm. The pins and seam you're
sewing from the outside. This may be just as clear as mud as I found the pattern instructions to be but I
hope it helps somebody.
The opening of the arms ended up being slightly - perhaps 3/4" - too large for the body arm hole. Maybe this
is normal and I should have kind of cut some of the body's arm hole a bit larger to accomodate or something,
but I was worried that would mess with the final fit. I really didn't want to be lazy and introduce some
sort of pleat into the arm somewhere, so what I ended up doing was pulling from
my pirate shirt experience
and doing a very slight gather all the way
around the arm. I ran two parallel running stitches all around the outside of the arm opening on the sleeve,
then pulled the threads to gather the material and pull it in to match the size of the body arm hole. I
evenly distributed the gather so that I didn't end up with an actual fold in the fabric anywhere. This took
forever but I am very glad I did it and I'm really happy with the final arm attachment, which is fold-free
and fits nicely! I did have to do this for both arms. This could be another thing relating to the scaling of
the pattern pieces, but it could also just be me being a bit imprecise with some of the cuts and seams.
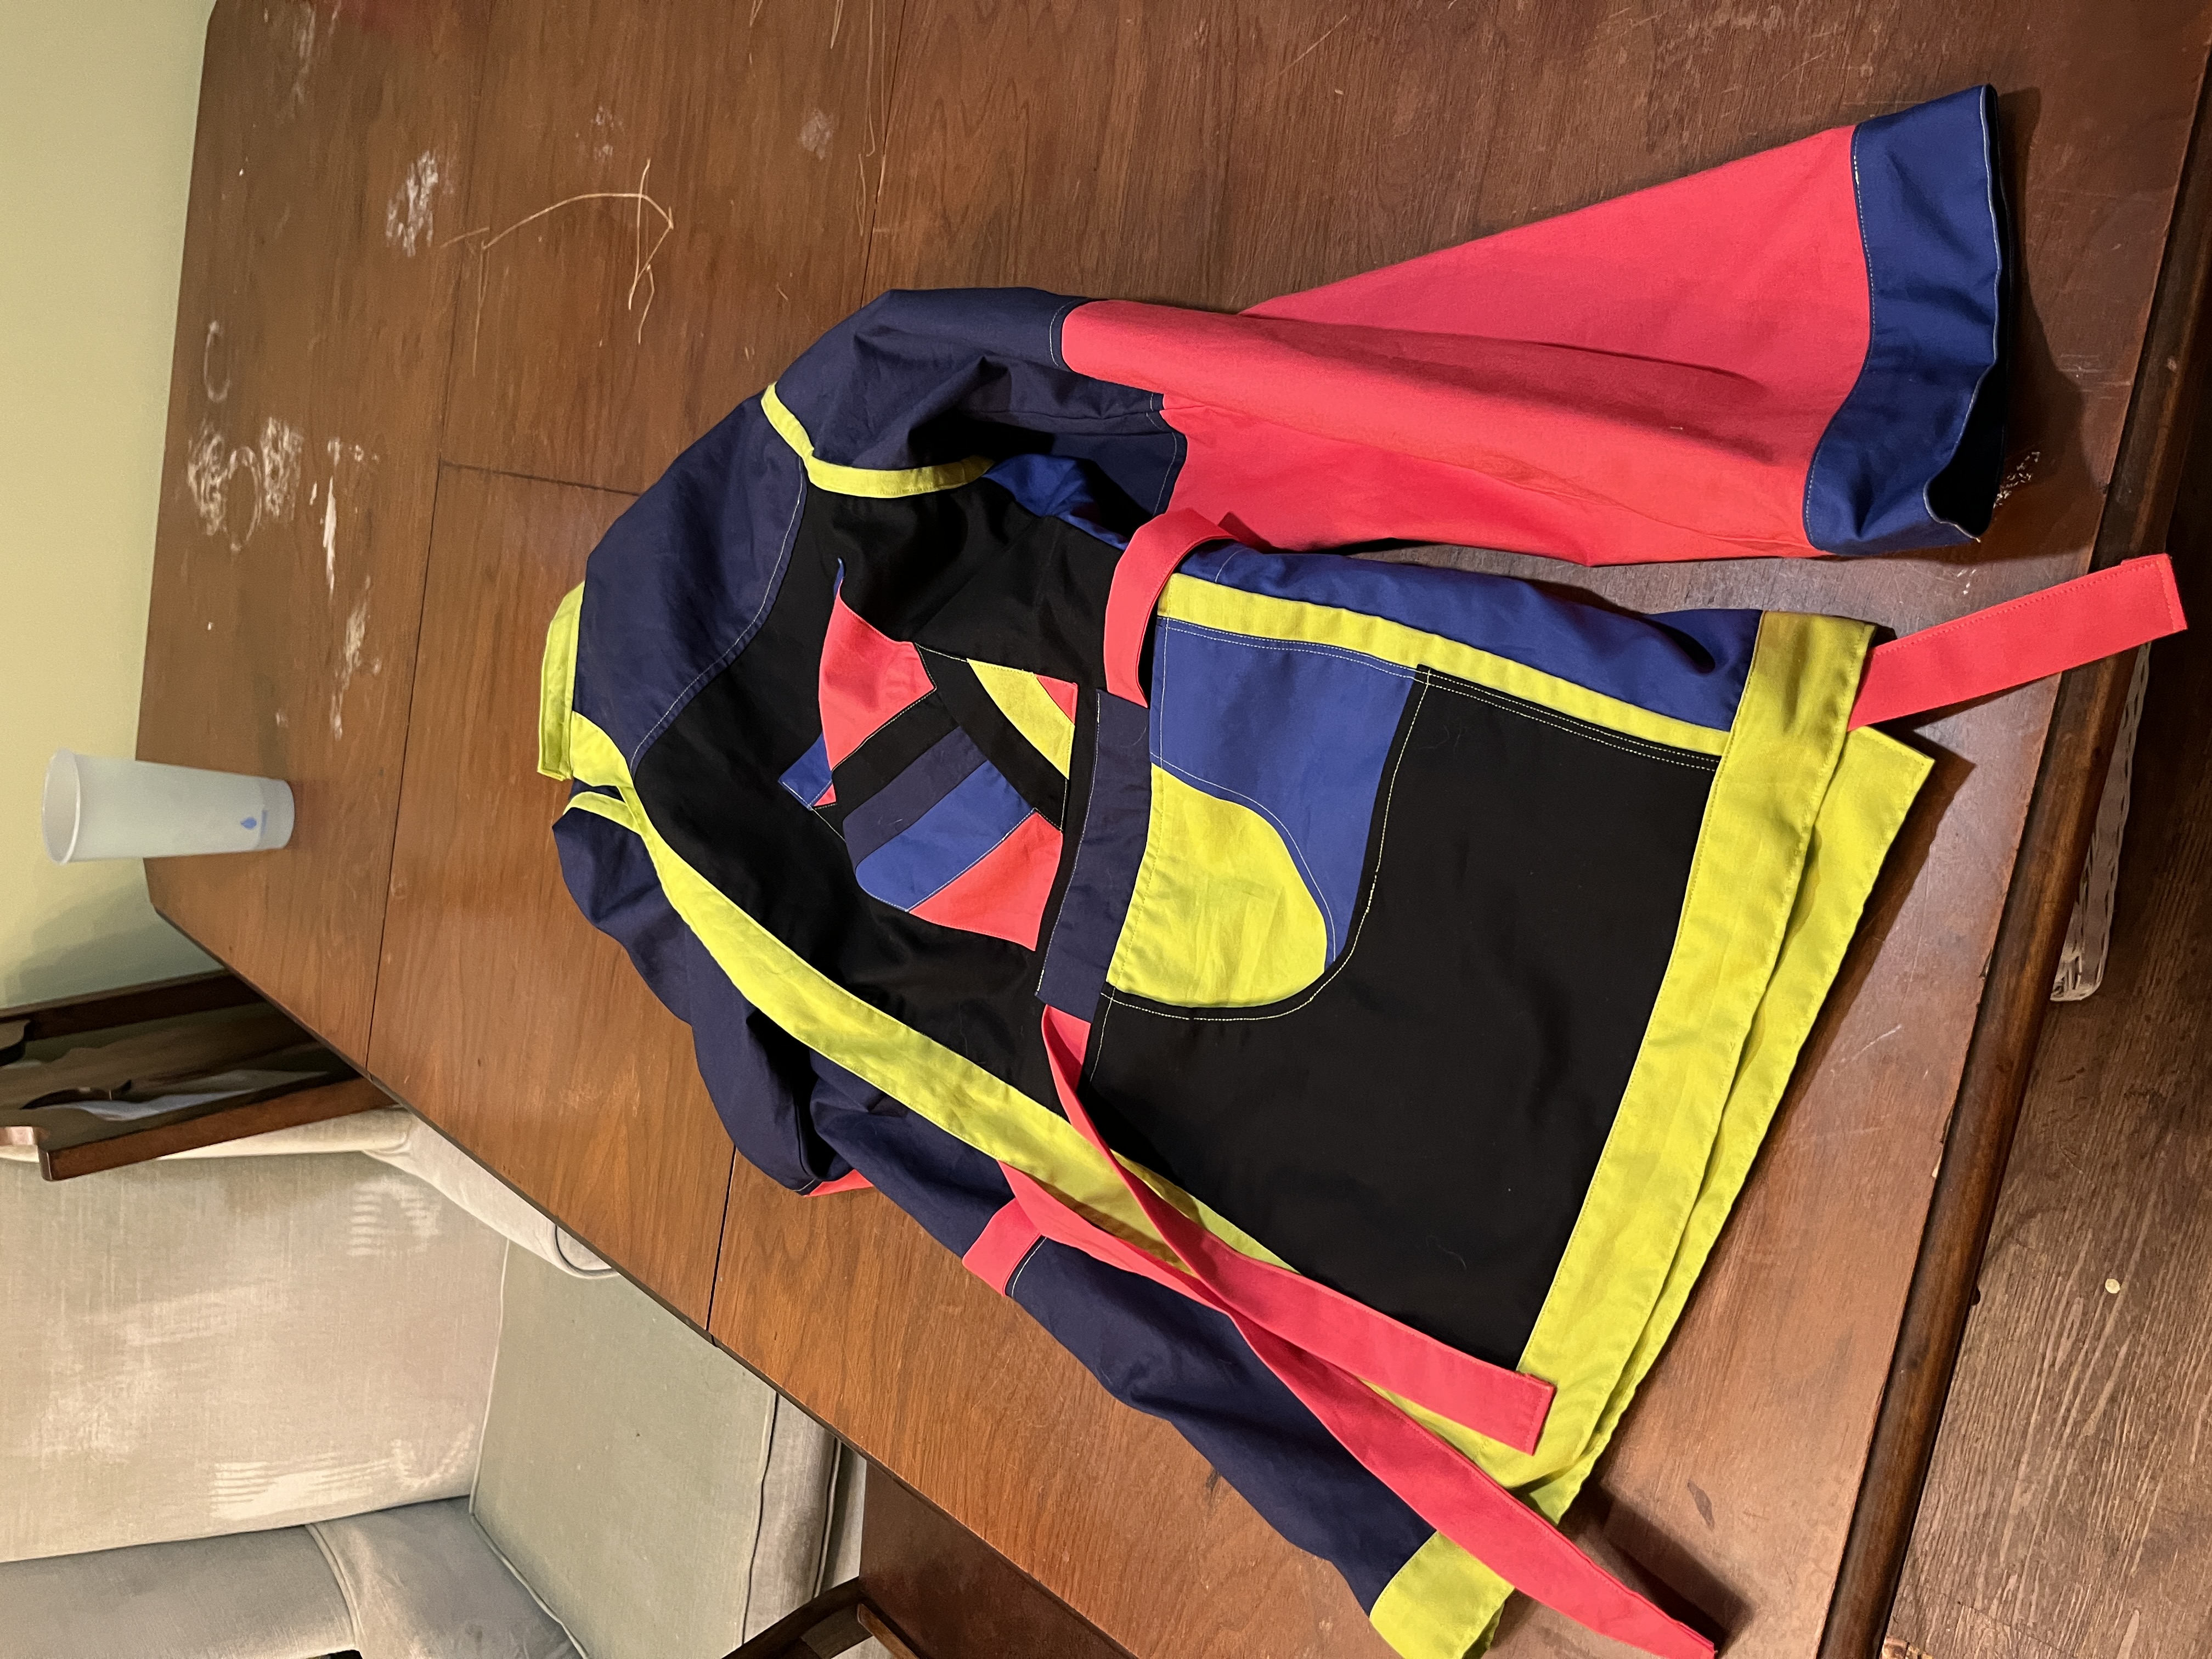
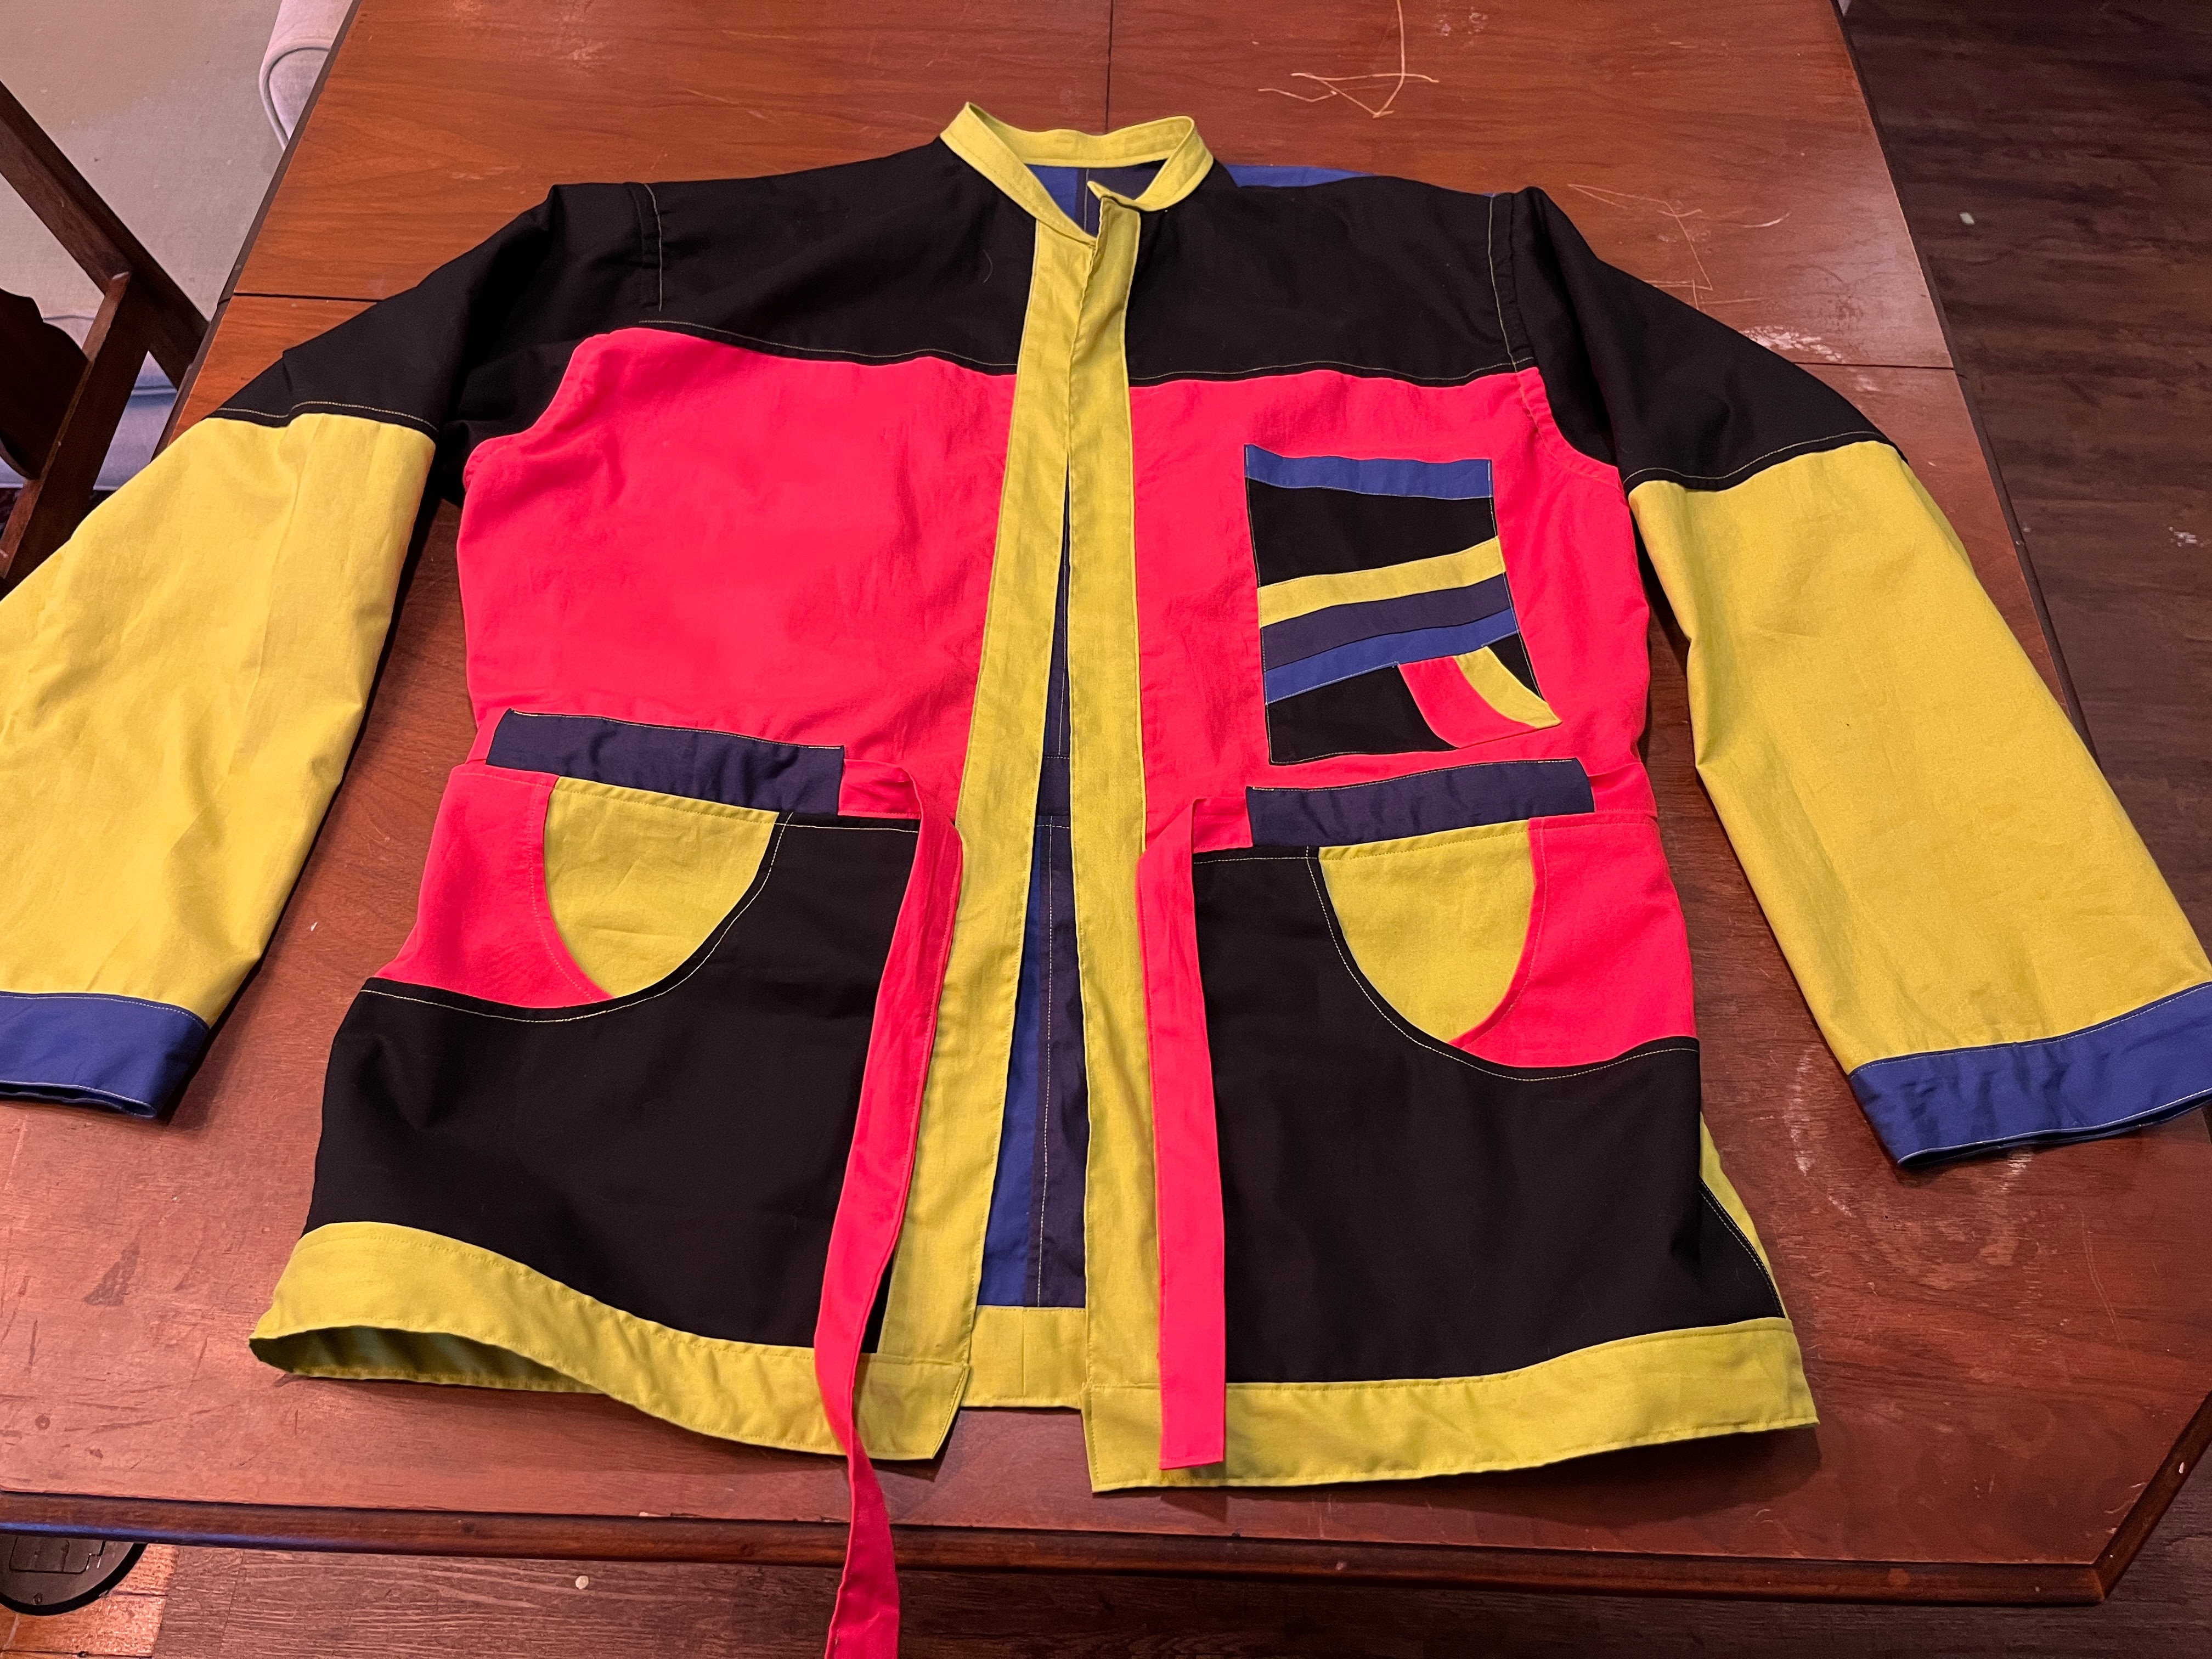
And here is the finished jacket! This was a very fun thing to make, I learned a ton. I would love to try
some more patterns, particularly ones where I get to hide a lot more of the final seams.